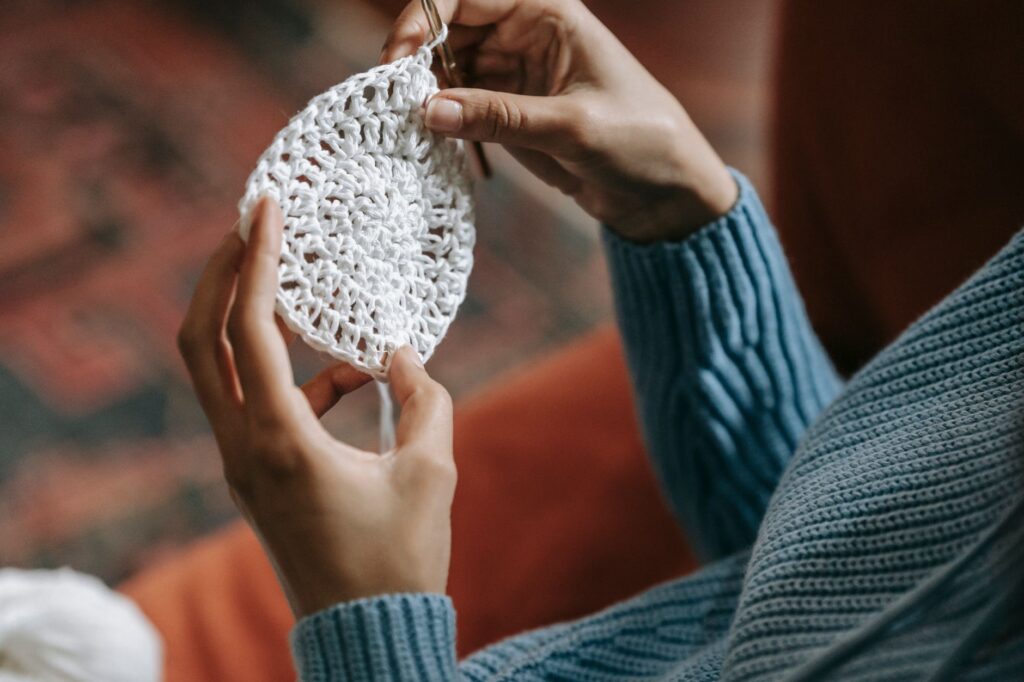
Crochet work in the round means building a project outward from a central starting ring rather than in flat back-and-forth rows, the foundation technique behind amigurumi, hats, and many motifs. Round construction suits the vast majority of projects. This guide gives a quick-reference summary of the core steps.

Quick Reference
- Start with a magic ring or a small chain ring.
- Work your first round of stitches into that ring.
- Increase each subsequent round following a standard count to keep the piece flat, or continue straight rounds with no increases for a tube shape like a hat body.
- Choose between a joined round, closed with a slip stitch, or a continuous spiral tracked with a stitch marker, depending on whether the piece is flat or three-dimensional.
When to Choose Each Round Style
Flat motifs like granny squares and doilies typically use joined rounds, since the small seam blends naturally into the pattern. Three-dimensional shapes like amigurumi typically use a continuous spiral, avoiding a seam that would show more clearly wrapping around a rounded form.
Frequently asked questions
Do I need a stitch marker to work in the round?
For a continuous spiral, yes, a stitch marker is essential since there is no slip-stitch join to visually mark where each round starts and ends.
Want the complete detailed guide?
See the full walkthrough covering starting rings, increase math, and troubleshooting.
Read the complete working in the round guide