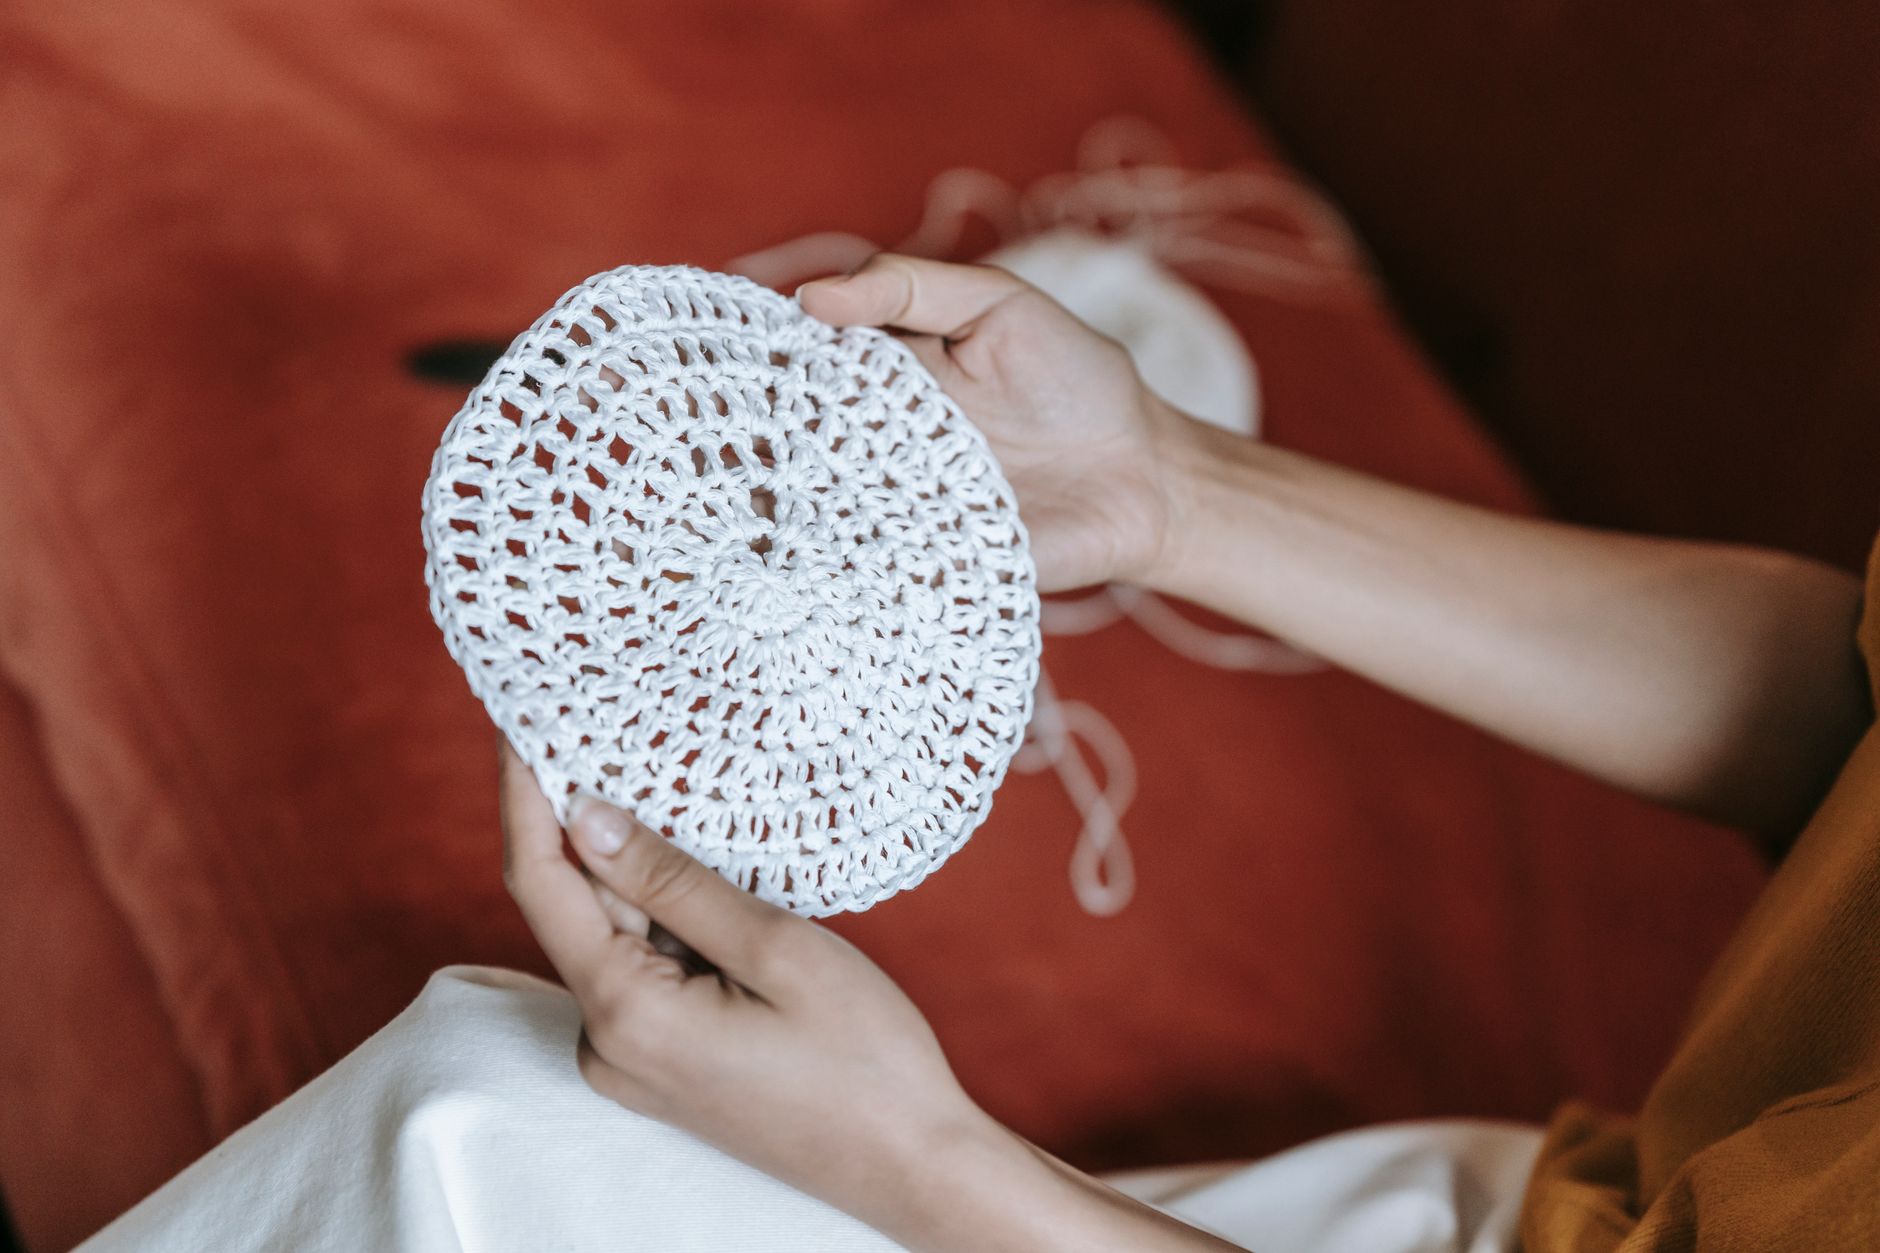
Crochet in the round means working stitches in a continuous circle from a central starting point, rather than back and forth in flat turned rows. This is the technique behind hats, amigurumi, and any motif that starts from a small center point and grows outward. I use this technique constantly for amigurumi specifically, since a rounded shape needs the continuous, join-free growth that working in the round provides. This guide covers the materials to start, a numbered step sequence for your first few rounds, how the technique changes once you move past the starting ring, and fixes for the most common early problems.
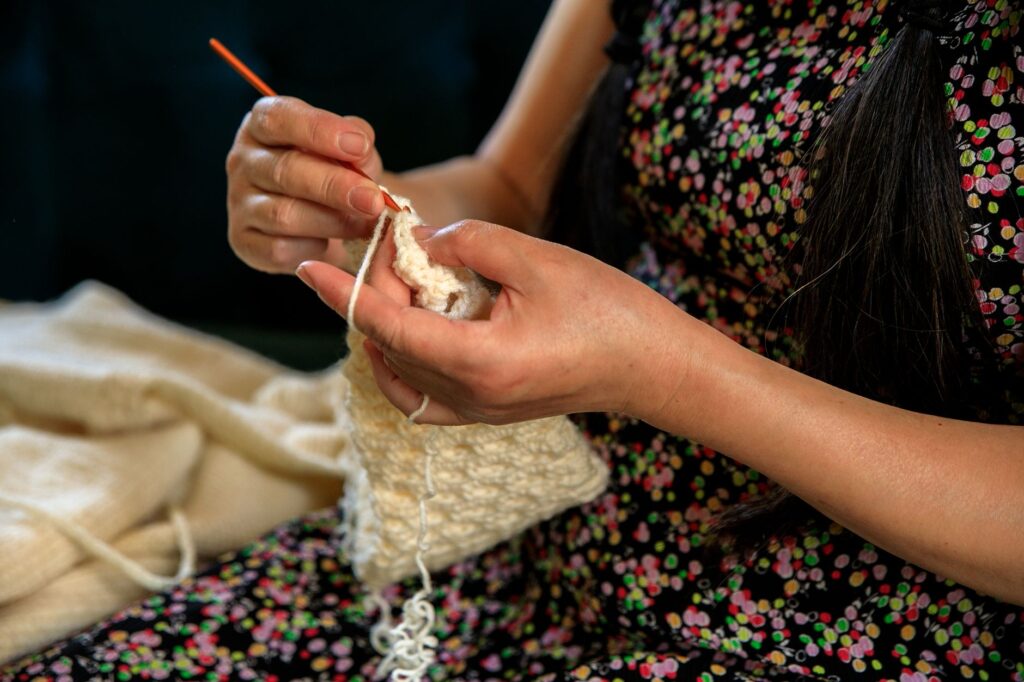
Materials Needed
- Worsted weight yarn in a light, solid color for your first practice round
- A 5.0mm hook, a comfortable match for worsted weight yarn
- Stitch markers to track the start of each round
I recommend a light solid color for your first attempt specifically because it makes each individual stitch easier to see and count while you are still learning to track rounds.
Step-by-Step: Your First Round
- Make a slip knot and leave a 6-inch tail, but do not pull it tight yet.
- Chain 2.
- Work 6 single crochet into the second chain from the hook, working over the tail as you go.
- Once all 6 stitches are complete, pull the starting tail firmly to close the small center hole.
- Place a stitch marker in the last stitch to mark the end of round 1.
- Slip stitch into the first stitch of the round to join, or continue directly into round 2 if your pattern uses a continuous spiral instead of joined rounds.
I move my stitch marker up one stitch at the end of every single round, without exception, since skipping this step even once is the single fastest way to lose track of where a round actually starts.
Working in the Round After the Ring
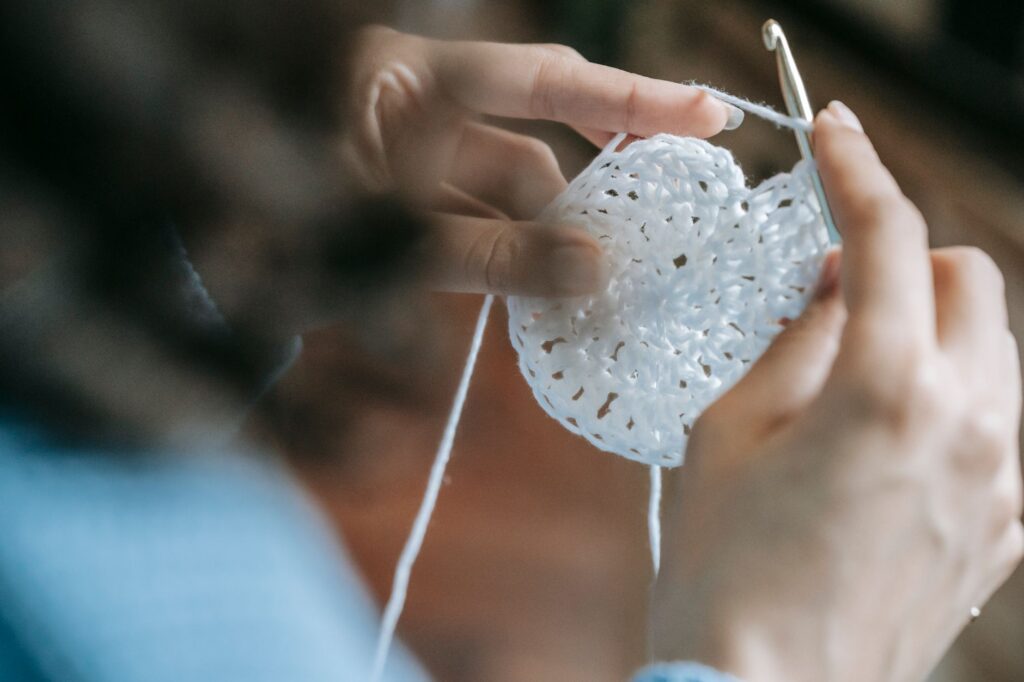
Round 2 typically doubles your stitch count by working 2 single crochet into every stitch from round 1, taking you from 6 stitches to 12. This increase pattern continues, though less aggressively, through the first several rounds to keep the growing circle flat rather than cupped or ruffled.
A continuous spiral round, common in amigurumi, skips the slip-stitch join entirely and just flows directly from one round into the next, marked only by your stitch marker rather than a visible seam. A joined round, more common in flat motifs like doilies, closes each round with a slip stitch and a small chain before starting the next, which creates a slightly more visible seam line running up the piece.
Troubleshooting
- The starting ring falls apart: This usually means the tail was not pulled tight enough before you continued crocheting. Snug the tail firmly closed before working round 2.
- The center hole will not close: Try pulling each of the 6 loops individually rather than just the main tail, since sometimes one loop holds more slack than the others.
- The circle cups instead of lying flat: This usually means your increase rate is too aggressive for the round you are on. Slow down your increases every third or fourth round instead of every round once you pass round 4 or 5.
Frequently asked questions
What is the difference between a magic ring and a chain start?
A magic ring closes completely with no center hole, while a simple chain-2 start, as shown in this guide, leaves a small hole that some crocheters find acceptable for beginner practice pieces. Once the basic round technique feels comfortable, switching to a magic ring removes that small gap for a cleaner finish.
Can you use this method for double crochet instead of single crochet?
Yes, the same starting ring works for double crochet, though a double crochet round typically starts with 12 stitches in round 1 instead of 6, since the taller stitch needs more stitches to lie flat around the same small center point.
Why is my starting circle not closing properly?
The most common cause is not pulling the starting tail tight enough before continuing to the next round. Go back and pull each of the 6 loops individually rather than just tugging the main tail once, which usually closes any remaining gap.
Ready to try amigurumi shaping?
Once your rounds lie flat, moving into three-dimensional amigurumi shapes is a natural next step.
See amigurumi project ideas