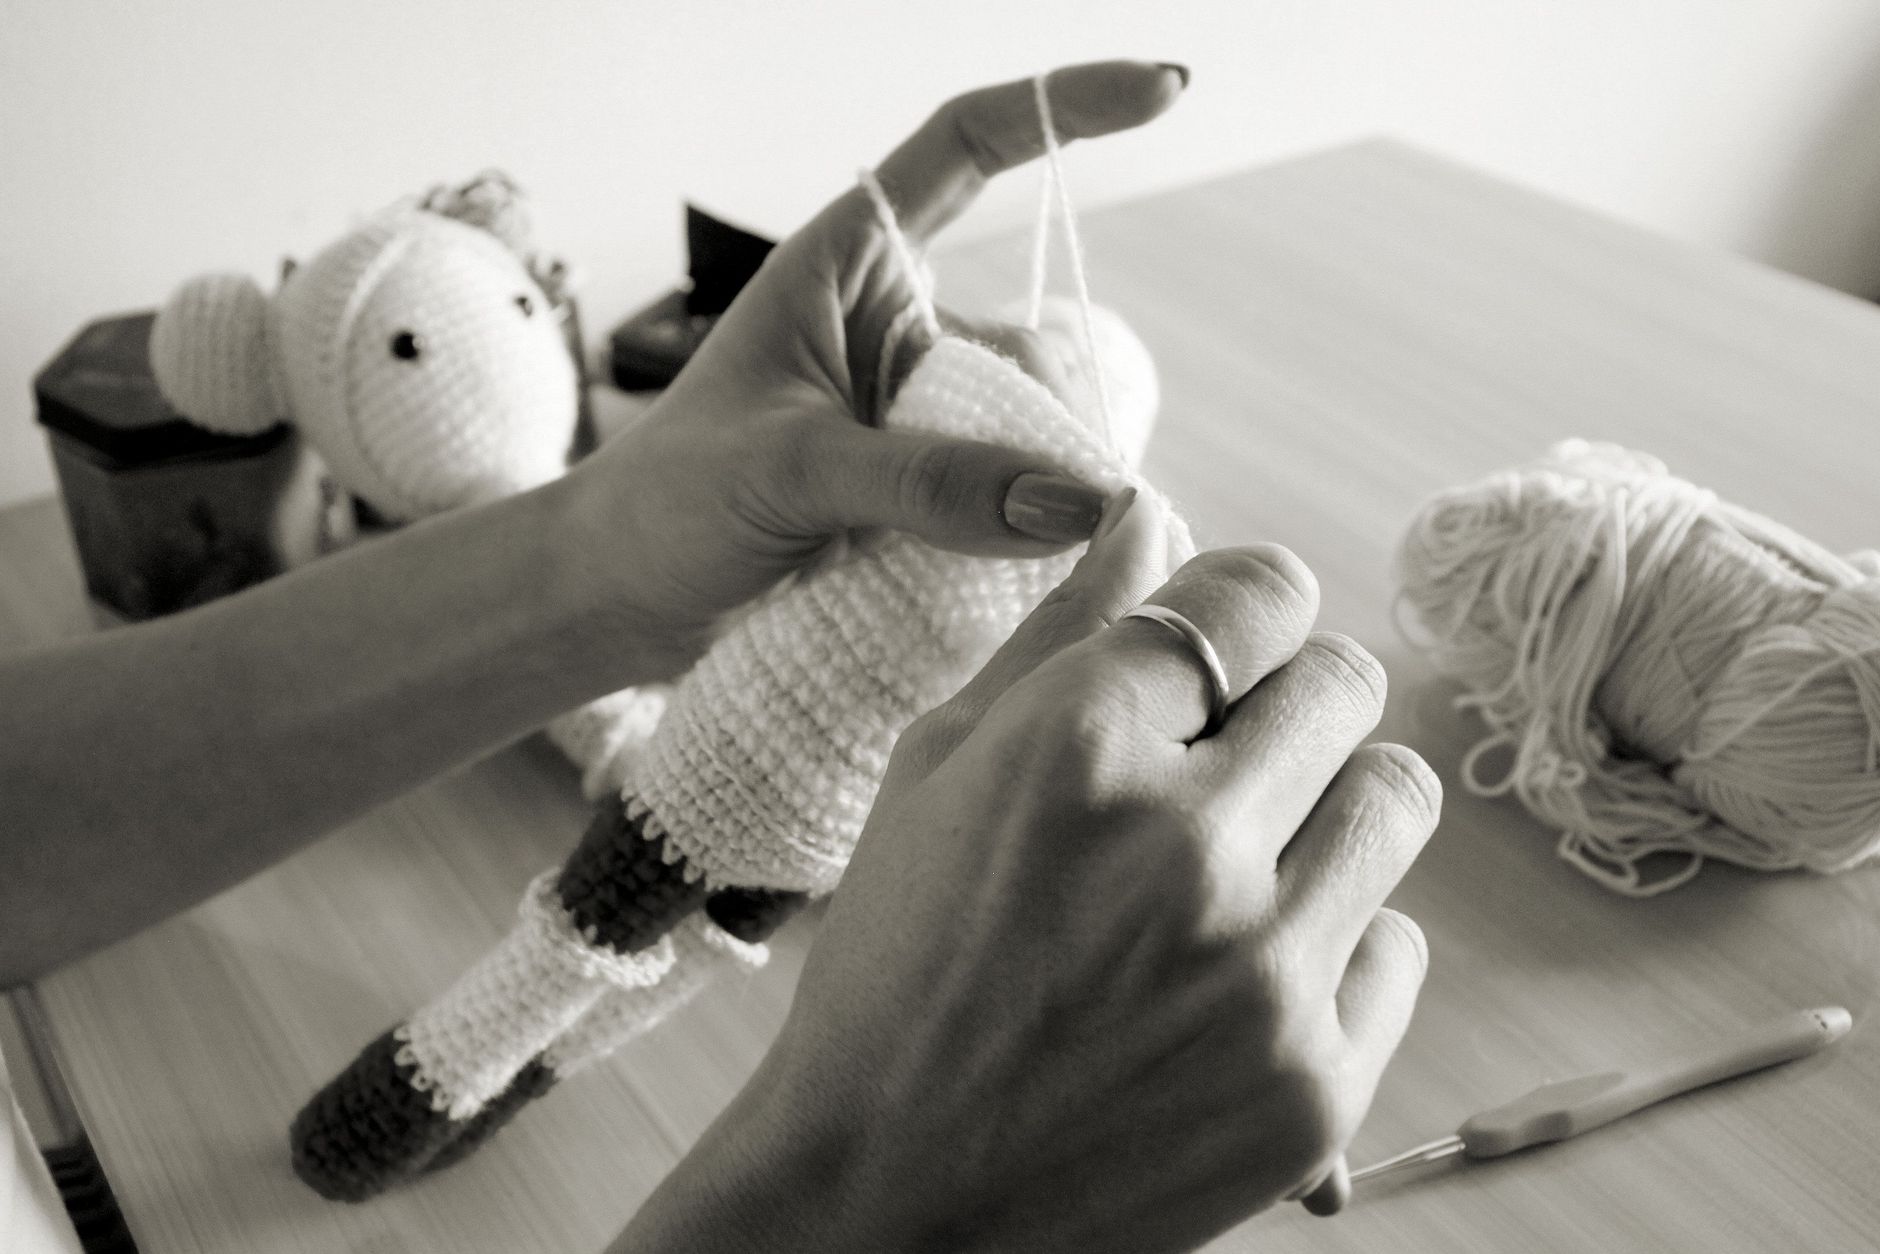
How to circle crochet, in the flat-motif sense, means growing a disc-shaped piece like a coaster or potholder outward from a center ring while keeping the fabric lying completely flat rather than cupping. This is slightly different from the increase pace used for a rounded amigurumi shape, since a flat motif needs a steadier increase rate all the way to the outer edge. I make a batch of coasters every winter as gifts, and getting the increase math right is the one thing that separates a flat disc from a wavy, ruffled one. This guide covers materials, the starting steps, how the increase pattern continues, and fixes for a circle that will not lie flat.

Materials Needed
- Worsted weight cotton yarn, which holds a crisp, flat shape better than acrylic for a coaster
- A 4.0mm to 5.0mm hook
- A tape measure to check your circle stays flat as it grows
Step-by-Step Photo Tutorial
- Make a slip knot and chain 2.
- Work 6 single crochet into the second chain from the hook.
- Pull the starting tail to close the center hole.
- Round 2: work 2 single crochet in every stitch, bringing the total to 12 stitches.
- Round 3: alternate 1 single crochet, 2 single crochet in the next stitch, repeating around, bringing the total to 18 stitches.
- Continue increasing by 6 stitches each round, spacing the increases evenly and further apart as the circle grows, until the coaster reaches your target size.
I lay the piece flat on a table every couple of rounds to check for cupping or rippling before continuing, since catching an uneven increase early is much easier to fix than after ten more rounds.
Working in the Round After the Ring
The key to a flat circle is spacing your increases further apart as the round grows, always adding the same total number of stitches per round, in this case 6, but spreading those 6 increases across an increasingly longer round. By round 5 or 6, you are increasing roughly every third or fourth stitch instead of every other stitch like you did in round 3.
A joined round, closed with a slip stitch at the end of each row, is more common for flat motifs like this one than a continuous spiral, since the visible seam is less noticeable on a small, flat piece than it would be wrapping around a 3D amigurumi shape.

Troubleshooting
- The circle ripples at the edge: You are increasing too much for the round you are on. Slow the increase spacing further apart.
- The circle cups upward like a bowl: You are not increasing enough. Add an extra increase or two to bring the edge back out flat.
- The center hole will not close: Pull each of the 6 starting loops individually rather than just the main tail.
Frequently asked questions
What is the difference between a magic ring and a chain start?
A magic ring closes with no center hole at all, while the chain-2 start shown here leaves a small hole some crocheters find acceptable for a coaster or practice piece. Once this flat-circle technique feels comfortable, switching to a magic ring closes that gap for a cleaner center.
Can you use a magic ring for double crochet circles?
Yes, though a double crochet circle typically starts with 12 stitches in round 1 rather than 6, since the taller stitch needs more stitches to lie flat around the same small center point.
Why is my circle not closing properly at the center?
The most common cause is not pulling the starting tail tight enough before continuing to round 2. Pull each of the 6 individual loops rather than just the main tail once, which usually closes any remaining gap.
Ready for a rounded 3D shape instead?
Amigurumi uses a faster increase pace than a flat coaster does.
See crochet in the round for amigurumi