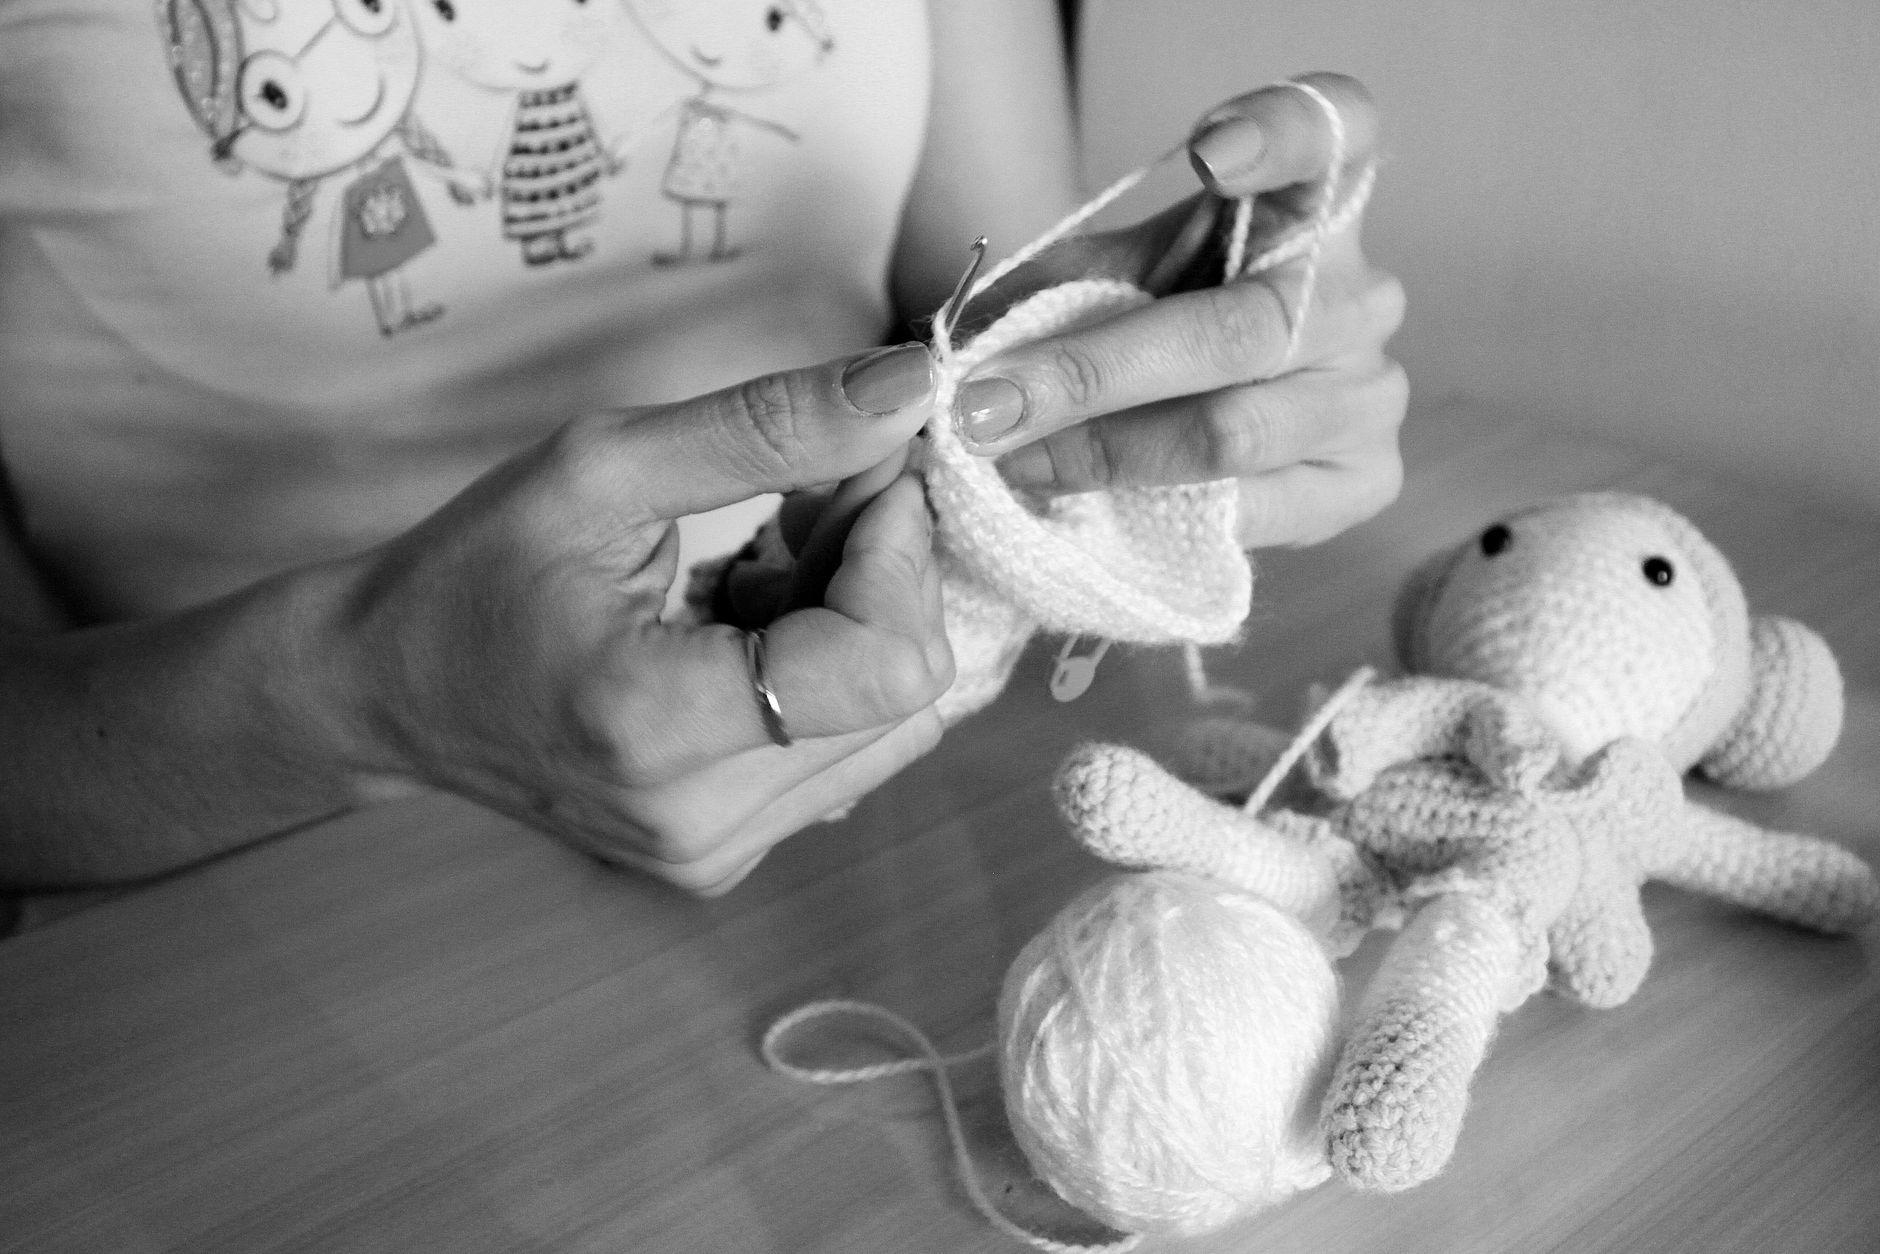
How to use a crochet ring covers the adjustable loop technique, often called a magic ring, that lets you start any project worked in the round with a fully closed center and no small hole left behind. This is the tool most designers assume you already know when a pattern simply says “work into a magic ring” with no further explanation. I switched from a plain chain start to the ring years ago specifically for amigurumi, since even a small gap at the center shows on a stuffed toy’s face. This guide covers materials, the steps to form and use the ring, what happens after round 1, and fixes for a ring that will not close.

Materials Needed
- Worsted weight yarn in a light color for practice
- A 5.0mm hook
- A stitch marker to track your round
Step-by-Step Photo Tutorial
- Wrap the yarn around two fingers twice, forming a loop with the working yarn coming from underneath.
- Insert your hook through the loop, yarn over, and pull up a loop onto your hook.
- Chain 1 to secure, though this chain does not count as a stitch.
- Work 6 single crochet directly into the ring, crocheting over both wrapped strands.
- Once all 6 stitches are complete, pull the short tail firmly to close the ring completely, leaving no center hole.
- Place a stitch marker in the final stitch, then slip stitch to join or continue directly into round 2 for a spiral.
I always double-check that both wrapped strands are actually caught inside my first 6 stitches before pulling the ring closed, since missing one strand means the ring will not tighten evenly.
Working in the Round After the Ring
Round 2 typically doubles your count with 2 single crochet in every stitch, taking you from 6 to 12 stitches. This increase pace continues, spread progressively further apart, to keep the growing piece flat or shaped as intended rather than cupping.
Once the ring is closed and round 1 is secure, the technique from here on works identically to a chain start, so the ring’s only real advantage is the fully closed center rather than any difference in later rounds.

Troubleshooting
- The ring will not tighten: Check that both wrapped loops were caught inside your 6 stitches, not just one.
- The ring loosens again after a few rounds: Weave the starting tail through several stitches on the wrong side rather than just trimming it short.
- The stitches feel too tight to work into: Loosen your wrap slightly before working your first 6 stitches into it.
Frequently asked questions
What is the difference between a magic ring and a chain start?
A magic ring closes completely with no center hole, while a plain chain-2 start leaves a small permanent gap at the center. The ring takes a little more practice to master but gives a cleaner result, especially visible on small amigurumi pieces.
Can you use a magic ring for double crochet?
Yes, the ring works the same way regardless of stitch height, though a double crochet round typically starts with 12 stitches rather than 6, since the taller stitch needs more stitches to lie flat around the same center point.
Why is my magic circle not closing properly?
The most common cause is only catching one of the two wrapped loops inside your first 6 stitches instead of both. Check both strands are caught before pulling the tail, which usually solves the closure problem completely.
Ready to shape a flat motif instead?
The ring works for flat coasters and doilies too, not just 3D amigurumi shapes.
See how to crochet a flat circle