Crochet a perfect circle means consistently achieving a flat, symmetric round shape with no rippling, cupping, or lopsidedness, which comes down to a few specific habits beyond just following a standard increase count. Check every circle against these exact points before considering it truly “perfect.” This guide covers the troubleshooting details that make the difference.

Consistent Increase Placement
Spread your increases evenly around each round rather than clustering them together, since uneven increase placement causes a lopsided rather than truly circular shape, even if the total stitch count per round is technically correct.
Checking Flatness As You Go
Lay your work flat on a table every few rounds rather than only checking at the end, since catching a rippling or cupping tendency early is far easier to correct than unraveling several completed rounds later.
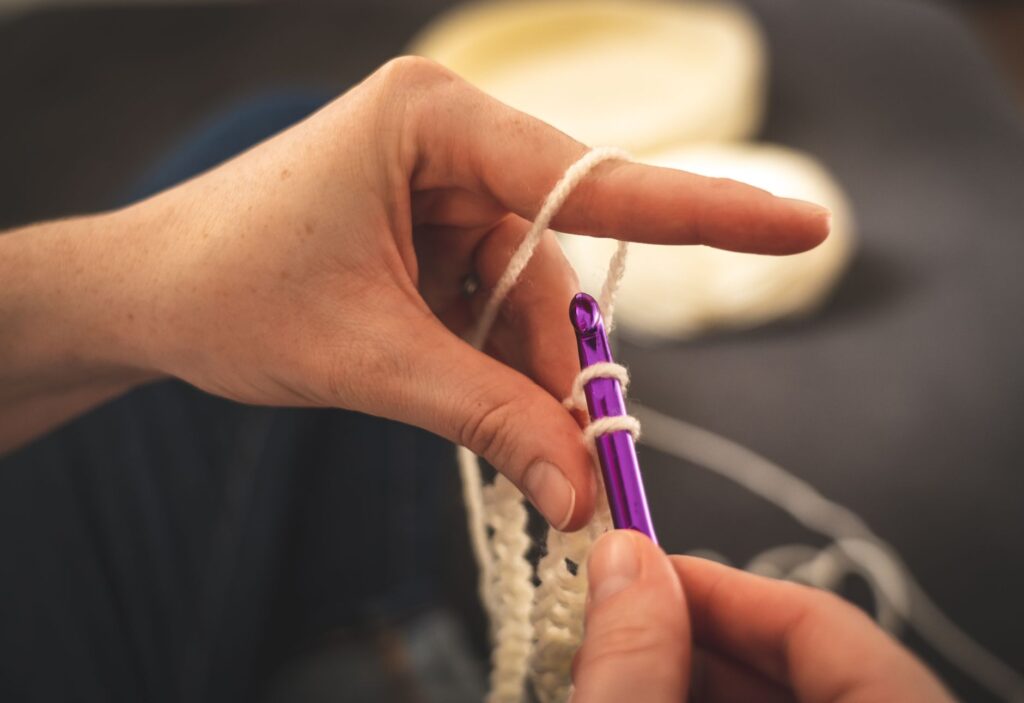
Consistent Tension Throughout
Tension that loosens or tightens as you work through a project can distort an otherwise mathematically correct circle. Take occasional breaks if you notice your tension drifting, and return with fresh, more consistent hand position.
Frequently asked questions
Why is my circle lopsided even though my stitch count is correct?
This usually means your increases are clustered rather than spread evenly around the round. Even with the correct total count, uneven placement still distorts the overall shape.
Want the exact stitch count reference?
See a full increase table through round 10.
See the circle chart