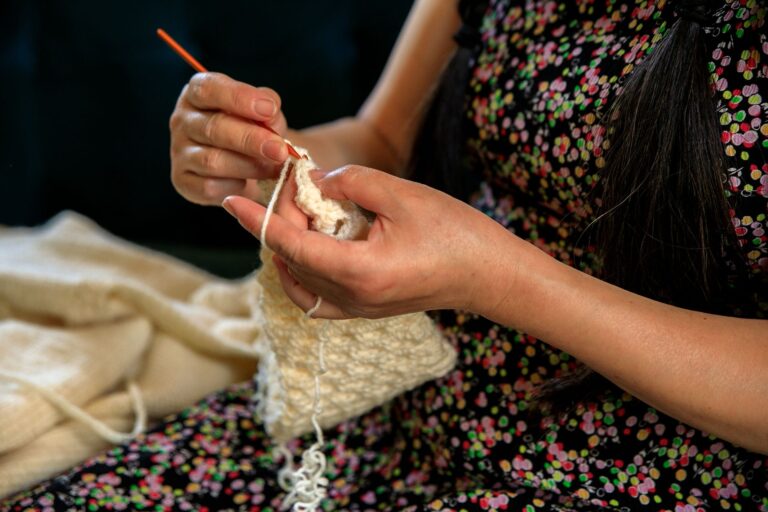
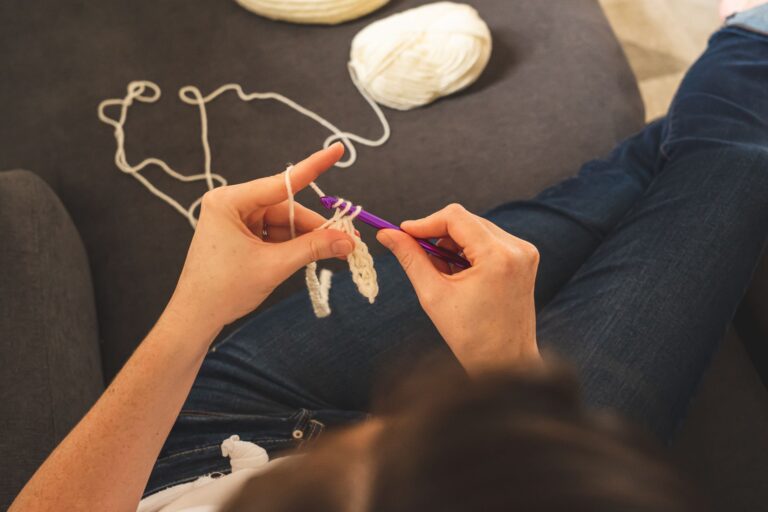
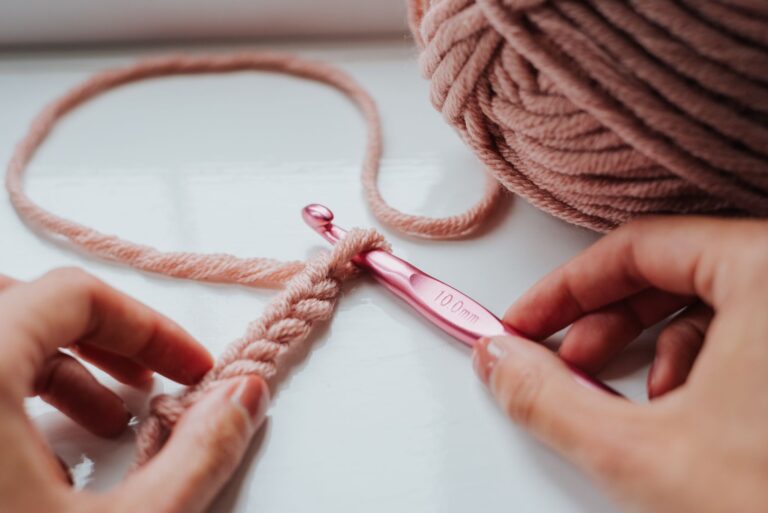
How to do the second row in crochet trips up more beginners through a handful of specific, recognizable symptoms than through one single universal mistake, which is why a troubleshooting approach, matching what you are actually seeing to its likely cause, often helps faster than a generic step-by-step alone. This diagnostic approach covers the same handful of second-row problems that come up again and again in slightly different forms. This guide walks through the standard steps first, then covers specific symptoms and their fixes.

The Standard Steps, for Reference
- Finish row 1, then chain the height appropriate for your stitch: 1 for single crochet, 3 for double crochet.
- Turn your work.
- Determine whether your turning chain counts as your first stitch, based on your stitch type.
- Work into either the actual first stitch, if the chain does not count, or the second stitch, if it does.
- Finish the row into the top of the previous row’s turning chain.
Symptom: My Second Row Has Fewer Stitches Than Row One
This almost always means you accidentally skipped the true first stitch of row 1 when starting row 2, likely because you treated a non-counting turning chain, like single crochet’s, as though it counted as a stitch. Recheck whether your specific stitch type’s turning chain should count before working your first stitch of the new row.
Symptom: My Second Row Has More Stitches Than Row One
This typically means the reverse mistake: you worked into a turning chain that should have counted as your first stitch, then also worked into the actual first stitch of the row below, effectively double-counting a single stitch’s worth of fabric. Double crochet is especially prone to this specific error.
Symptom: A Small Gap or Hole Appears at the Edge
A visible gap at the turn usually points to a turning chain worked more loosely than your regular stitch tension, leaving extra slack at that one specific point in every row. Focus on matching your turning chain’s tension to the rest of your stitches rather than letting it default to looser.
Symptom: My Fabric Is Slowly Narrowing on One Side
A gradual narrowing on one consistent edge across many rows points to a repeated missed stitch at that same edge every single row, most often the very first or very last stitch of the row being skipped consistently. Check both the beginning and the end of a row carefully, since the final stitch, often worked into the previous row’s turning chain, is easy to overlook visually.
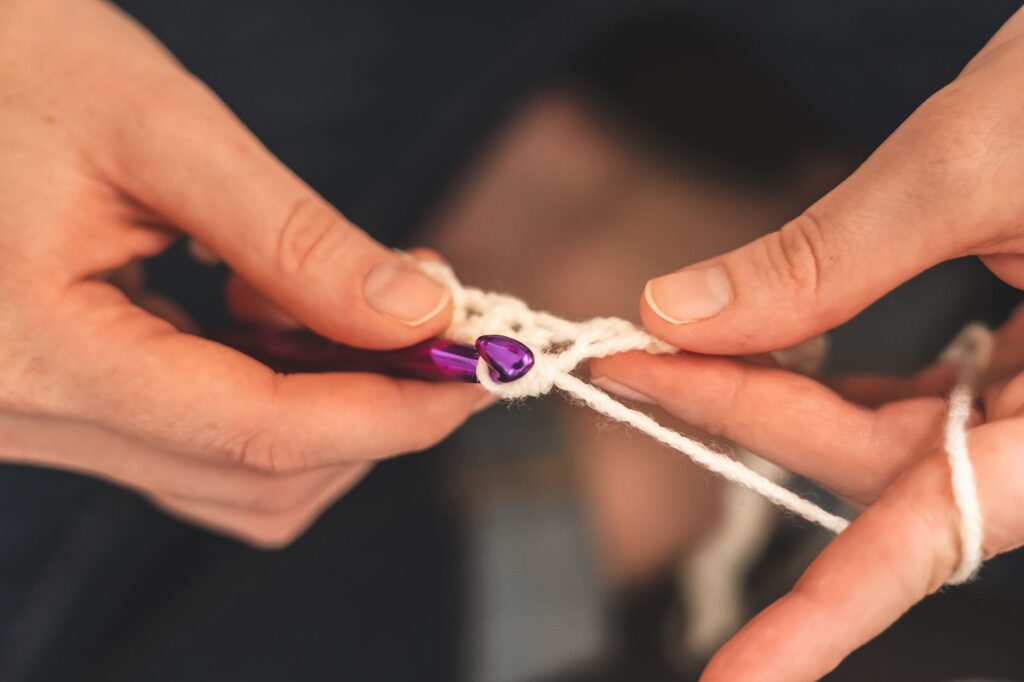
Symptom: My Fabric Is Slowly Widening on One Side
The mirror image of narrowing, a gradual widening usually means an extra stitch is being added at the same edge every row, often from working into both a counting turning chain and the stitch it was meant to replace.
A Special Case: Amigurumi Round Two Instead of a Flat Row
If you are working an amigurumi or another project in continuous rounds rather than flat back-and-forth rows, the “second row” question actually means your second round, and none of the turning chain logic above applies, since continuous spirals have no turn or turning chain at all. Instead, the most common round-two symptom is a stitch count that does not match the expected doubled total from round one, usually meaning an increase was skipped or duplicated somewhere in that first increase round. Recount round one specifically before troubling over round two if you are working in a spiral rather than flat rows.
Preventing These Symptoms Going Forward
Counting out loud after every row until a specific stitch type’s turning chain rule becomes fully automatic catches nearly every symptom above before it compounds into several rows of accumulated error. Do this deliberately whenever you switch to a stitch type you have not used recently, since the habit fades slightly with disuse.
Frequently asked questions
How do I isolate exactly where a stitch count error started?
Count each row individually starting from row 1 rather than just checking the current row against the total you expect, since this reveals the specific row where the count first diverged rather than leaving you guessing across several rows at once.
Should I unravel back to fix a second-row mistake or just adjust going forward?
Unravel back to the last correct row rather than trying to quietly adjust going forward, since an uncorrected count error typically compounds and becomes much harder to trace the further you continue past it.
Want the turning chain reference table too?
See every common stitch height’s exact turning chain rule in one place.
See the complete turning guide