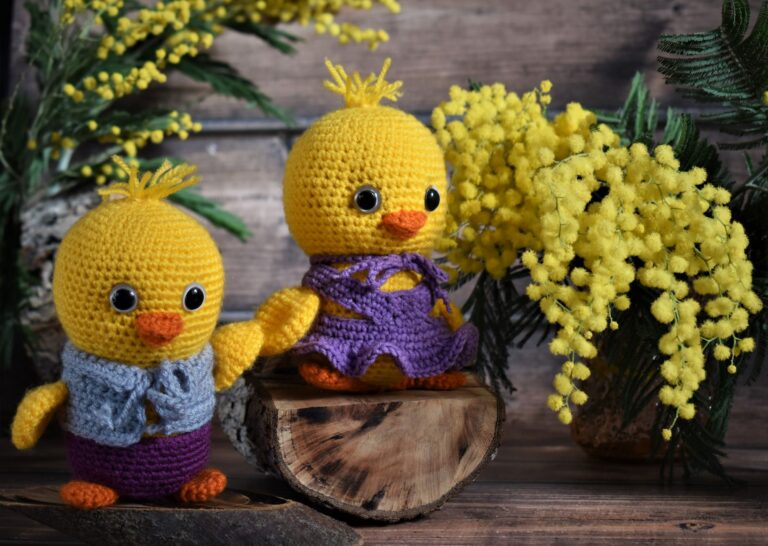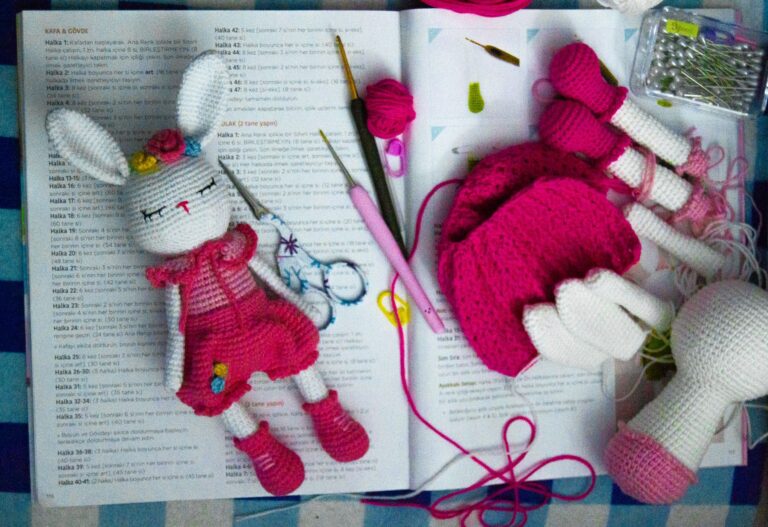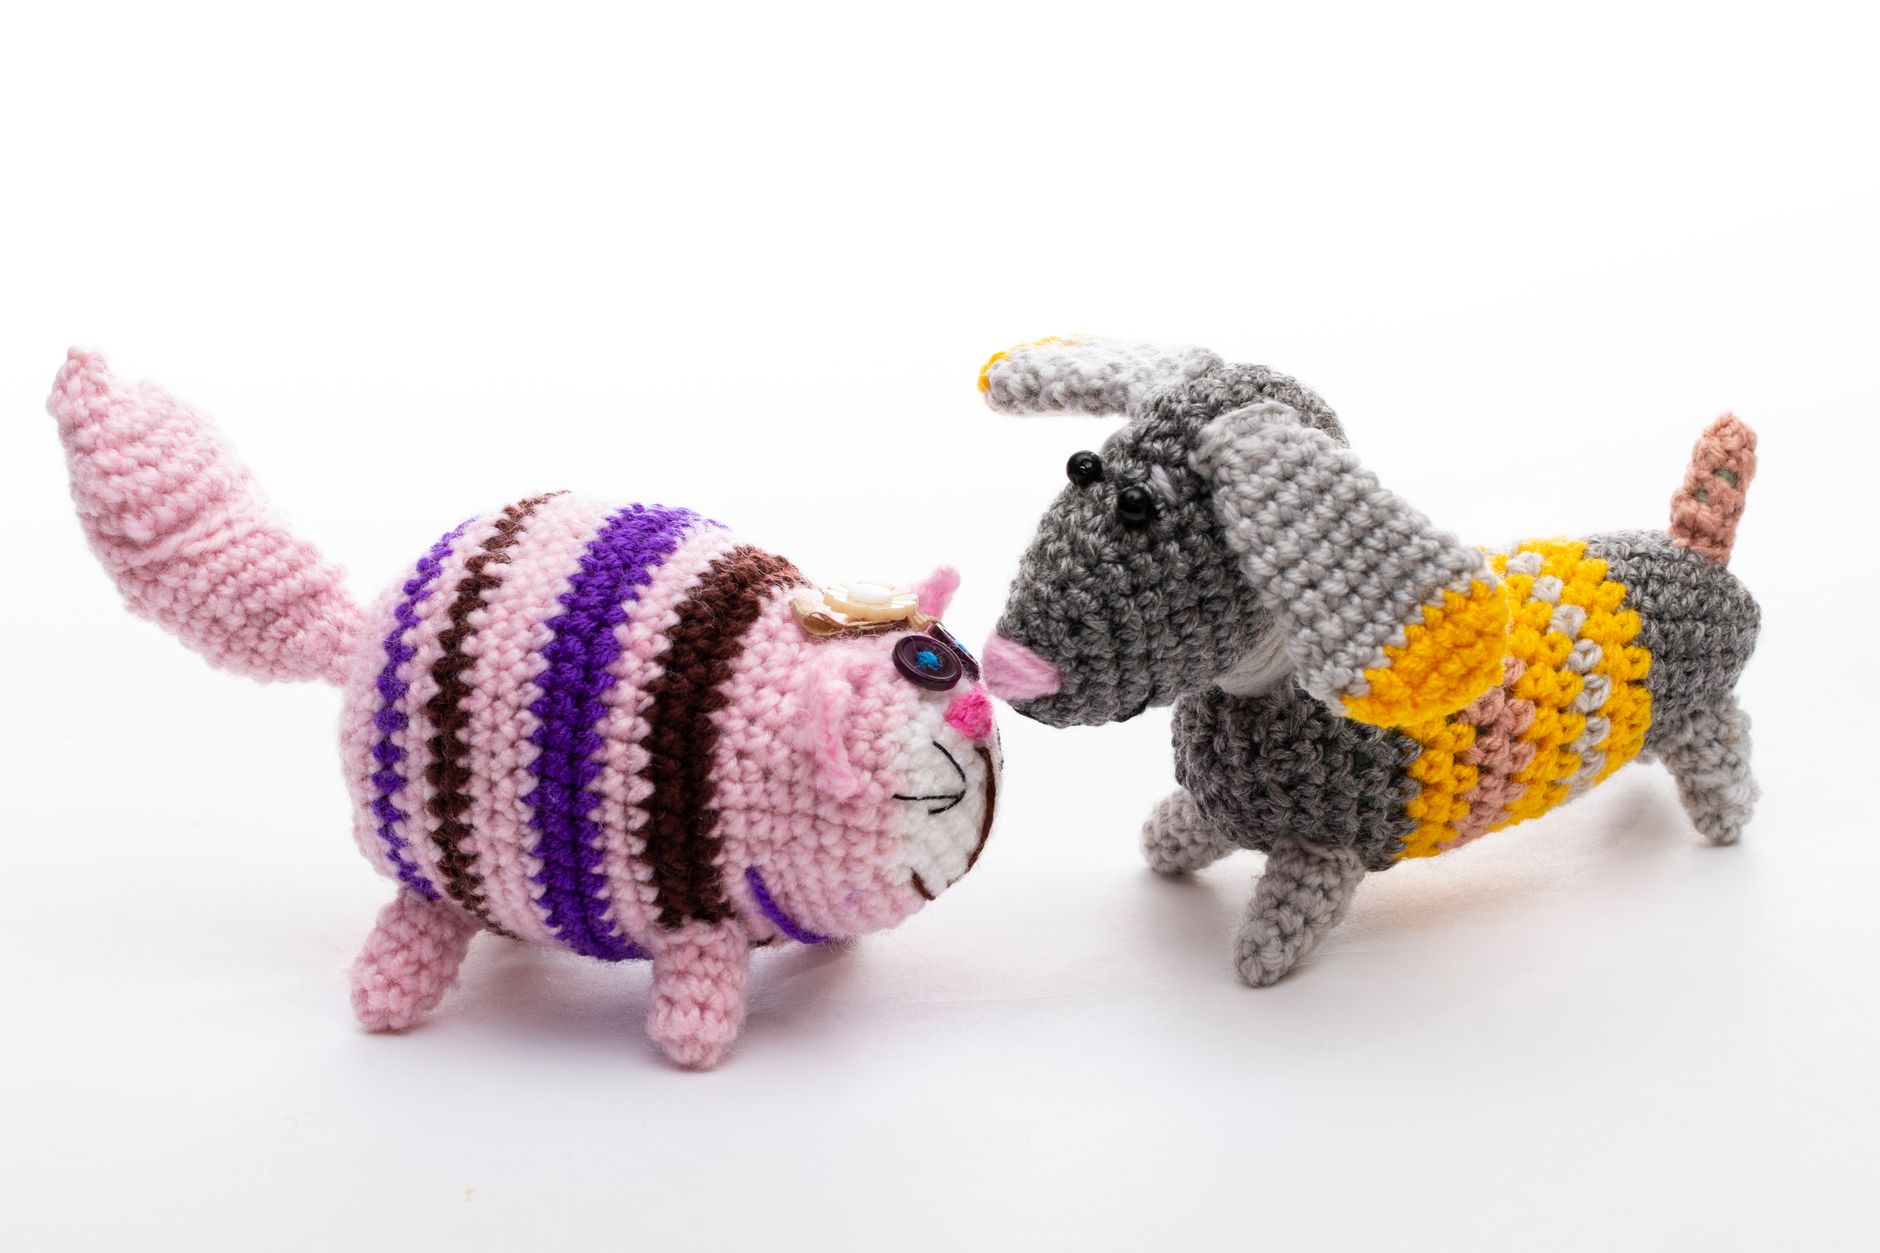
Embroidery eyes on crochet gives amigurumi a safer alternative to plastic safety eyes, particularly important for any toy intended for a baby or very young child, using a needle, contrasting thread, and careful placement to create a symmetrical, expressive pair of eyes. Embroider eyes on every piece made for someone under three for this safety reason. This guide covers placement, stitch choice, and how to fix an eye that comes out uneven.

Getting Placement Symmetrical
Pin both intended eye positions before stitching either one, then step back and view the piece from a few feet away rather than up close, since small placement errors are far more noticeable from a normal viewing distance than while you are hunched over actively working. A simple trick: measure the same number of stitches or rounds from a consistent reference point, like the amigurumi’s center seam, for both eyes rather than eyeballing each position independently.
Choosing the Right Stitch
Satin stitch, worked by stitching back and forth closely together to fill a small oval or circle shape completely, gives the cleanest, most solid-looking eye. French knots work for a smaller, simpler dot-style eye, quicker to work but less expressive than a filled satin stitch shape. Combining a satin stitch base with a small French knot highlight in a lighter color adds visual depth without much extra time.
Fixing an Uneven Eye
If one eye ends up noticeably larger, smaller, or positioned differently than the other after stitching, unpick just that one eye’s stitches carefully with a seam ripper or the tip of your embroidery needle, rather than restarting both. Since embroidery is worked with a separate needle and thread rather than being part of the crochet fabric itself, individual corrections are usually possible without disturbing the surrounding stitches.
Materials for a Reliable Result
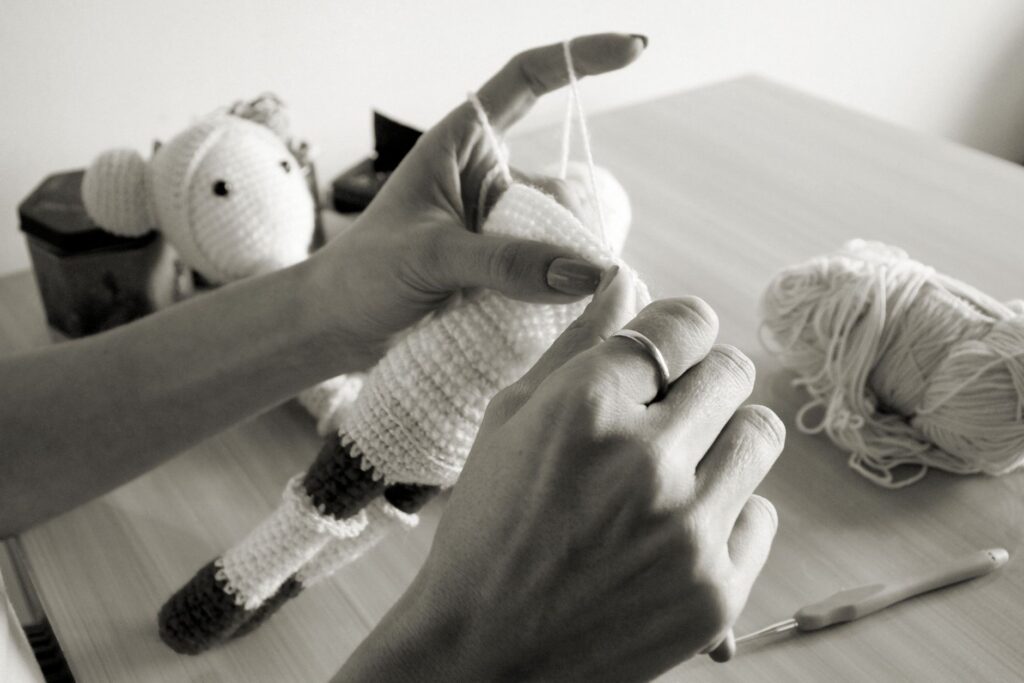
A blunt tapestry needle threads contrasting yarn or embroidery floss more easily than a sharp sewing needle, and its rounded tip slides between existing crochet stitch loops rather than splitting them. For very fine detail work, like a small highlight dot inside a larger eye, embroidery floss split down to just one or two strands gives more precision than a full six-strand piece or a full-weight yarn.
Adding Expression Beyond Just Eyes
A simple curved backstitch mouth or a couple of small French knot cheeks, added alongside embroidered eyes, expands a piece’s expressiveness considerably without much additional time. Plan the full facial expression, not just the eyes, before pinning anything, since eyes alone can look slightly blank without a mouth or cheek detail to complete the expression.
Frequently asked questions
Why embroider eyes instead of using safety eyes?
Embroidered eyes are safer for baby and toddler toys, since safety eyes can eventually work loose and pose a choking risk. Embroidery also allows more expressive, varied faces than a standard pair of plastic eyes.
Can I fix an embroidered eye after it is finished?
Yes, embroidery worked with a separate needle and thread can generally be picked out and redone without affecting the underlying crochet fabric, as long as you work carefully with a seam ripper or needle tip.
Want more amigurumi detail techniques?
See how to add other small embroidered details like stars.
See more embroidery detail techniques