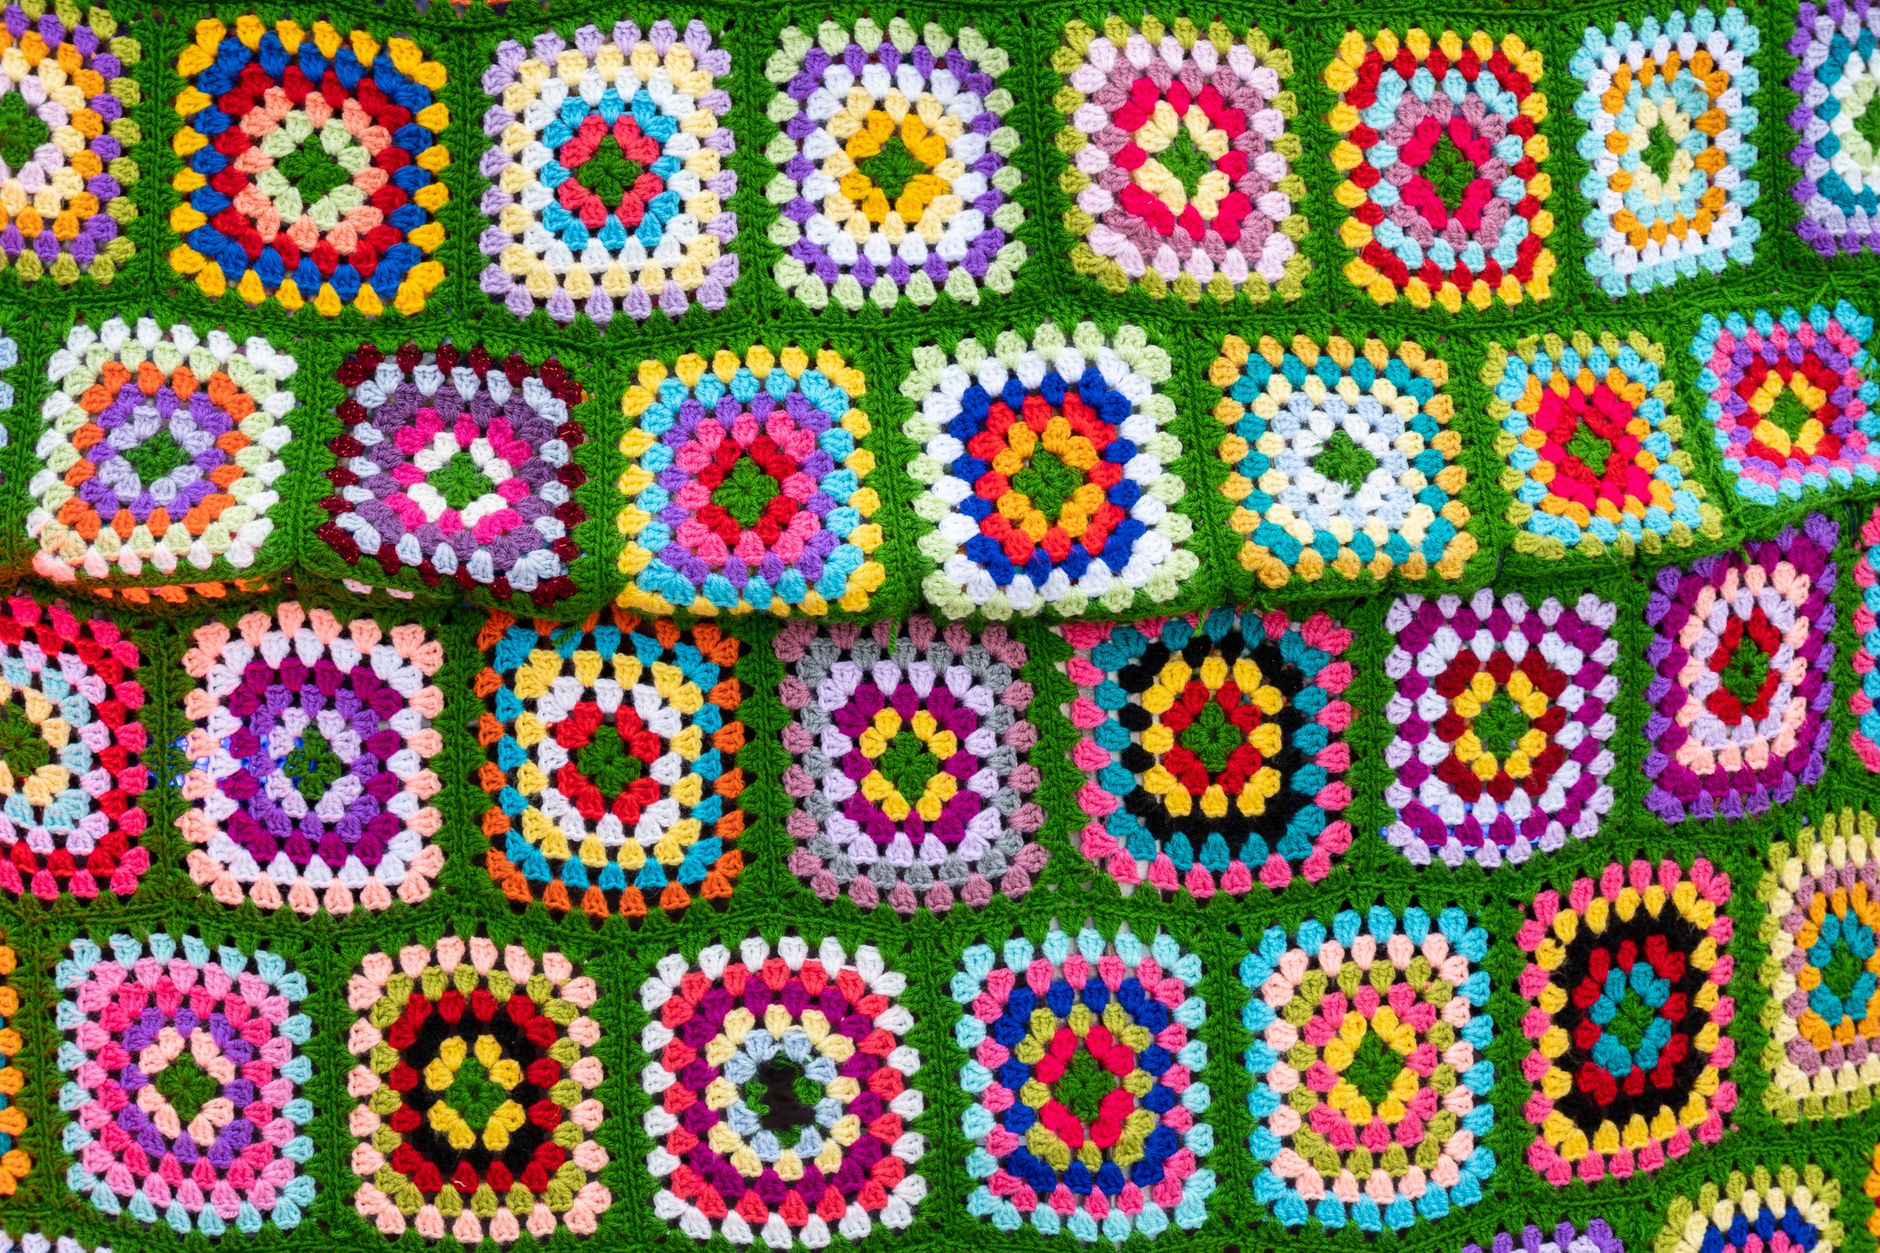
Joining wool in crochet means adding a new strand, whether a fresh skein of the same wool or a different color, without leaving a hole or a bulky knot in your fabric. This comes up any time you run out of yarn mid-row or want to switch to a second color for a stripe or motif. I work almost exclusively in wool for cold-weather accessories, and the fiber’s grip means a few join methods that work fine on cotton or acrylic slip apart in wool if you skip a step. This guide covers exactly what you need, a numbered join method that holds in wool specifically, a few variations by stitch and method, and the most common mistakes that leave a visible seam.

What You Will Need
- Your working wool yarn, still attached to the project
- The new skein or ball of wool you are joining in
- Your crochet hook, matched to the current project
- A yarn needle for weaving in the tails once the join is secure
Wool holds a spit-splice join better than synthetic fibers because the fibers actually felt together under friction and moisture, so keep that option in mind if the tails feel too bulky to weave in.
Step-by-Step Instructions
- Work until you are 2 to 3 stitches from where you want to join the new wool.
- Drop the old strand, leaving a 6-inch tail.
- Lay the new strand of wool over the hook, leaving a matching 6-inch tail.
- Yarn over with the new strand and pull through to complete the current stitch, locking the new wool in place.
- Continue crocheting with the new strand for the next few stitches before stopping to tie anything off.
- Once you have a couple of inches of slack, tie the two tails in a loose overhand knot close to the fabric, then weave in both ends separately with a yarn needle.
I always leave the join a few stitches before I actually need the color or skein change, since working a couple of extra stitches in the new wool before tying off keeps the tension even at the switch point.
Variations by Stitch and Method
Single crochet vs. double crochet: Single crochet joins show more at the switch point since the stitches are shorter and denser, so I try to plan wool color changes at the start of a row rather than mid-row whenever the pattern allows it. Double crochet hides a join more easily because the taller stitch has more surface area to absorb the transition.
In-the-round vs. turned rows: Joining wool in a continuous spiral round is trickier than in turned rows, since there is no natural break in the fabric to hide the tails. I stagger my joins to different points around the round on multi-color amigurumi so no single seam builds up bulk.
Russian join for wool specifically: Because wool fibers grip each other, a Russian join, where you thread each tail back through several inches of its own strand with a needle, holds especially well in wool and eliminates the need for tails to weave in at all.

Common Mistakes to Avoid
- Bulky joins: Using a full square knot instead of an overhand knot doubles the bulk at the join point unnecessarily.
- Visible color jump: Switching wool colors mid-row in single crochet creates a harder-to-hide seam than switching at the row’s start.
- Jagged spiral-round transitions: Failing to stagger your join points on a continuous round causes a visible diagonal seam to build up over several rounds.
Frequently asked questions
How do you hide a yarn join in crochet?
A Russian join hides best in wool, since threading each tail back through its own strand eliminates the tails entirely rather than just tucking them out of sight. For a faster option, join at the very start of a row rather than mid-row, which naturally disguises the switch inside the seam edge.
What is the best way to join wool without a knot?
A spit splice, where you wet, overlap, and friction the two wool tails together until the fibers felt into one continuous strand, avoids a knot entirely and works because wool fibers grip each other under moisture and friction. This only works with animal fiber wool, not acrylic or cotton.
Can you change wool colors in the middle of a row?
Yes, though the color jump shows more clearly in the middle of a single crochet row than at the row’s edge. If the pattern allows it, plan the switch for the start or end of a row instead for a cleaner line.
Ready to try a color-change project?
Once your joins hold up in wool, switching colors mid-project gets much less stressful.