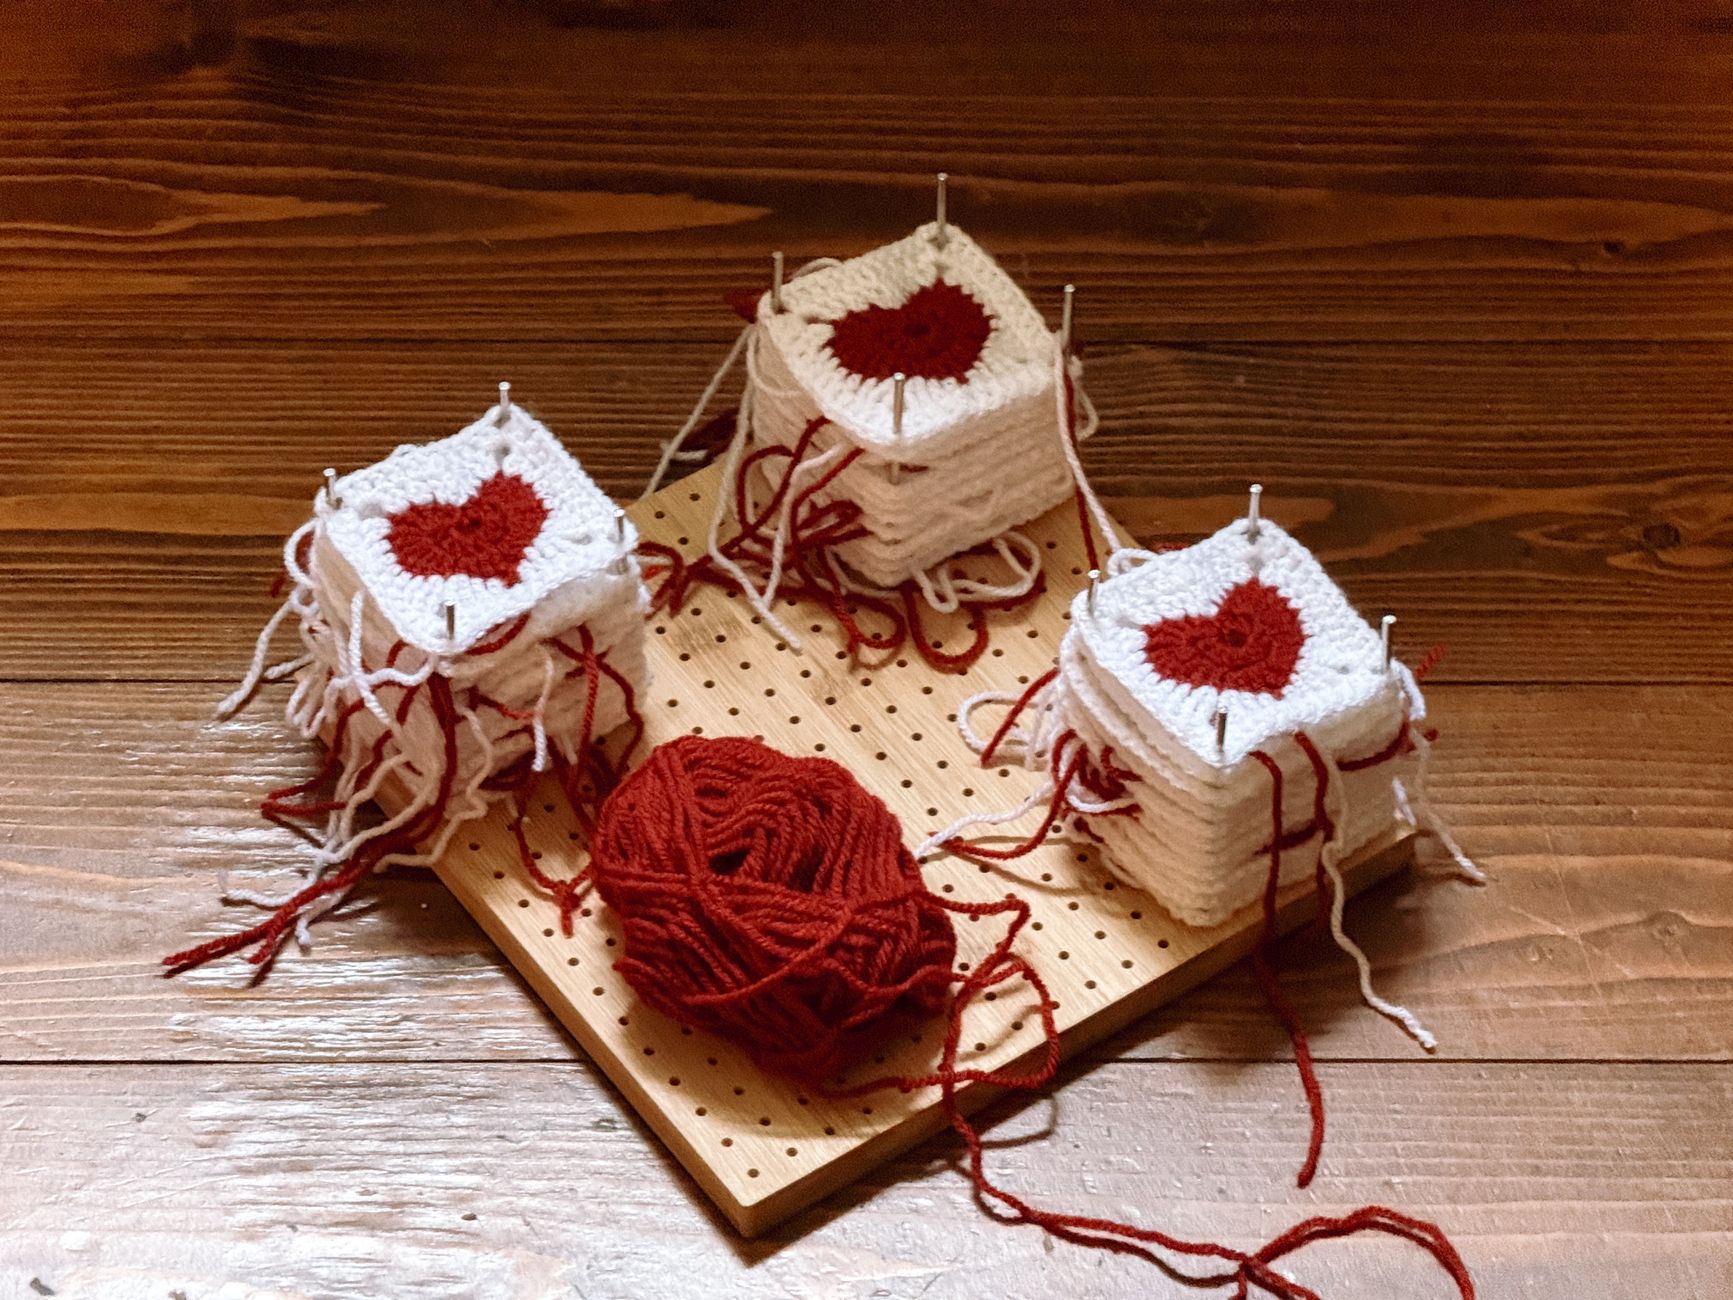
Weaving in ends crochet is the finishing step where you secure loose yarn tails, whether from a color change, a new skein, or the very start and end of your project, so they stay hidden and do not work loose over time. This is the step most beginners rush, and it shows up later as a tail popping out after the first wash. I treat weaving in ends as its own separate stage of a project rather than an afterthought, and my finished pieces hold up noticeably longer for it. This guide covers what you need, the exact weaving steps, variations by fabric type, and mistakes that let a tail work loose.

What You Will Need
- A yarn needle with an eye large enough for your yarn weight
- Small sharp scissors for trimming
- Your finished piece with tails left at least 4 to 6 inches long
Step-by-Step Instructions
- Thread the loose tail onto your yarn needle.
- Weave the needle through the back loops of several nearby stitches, following the same direction as the stitches rather than cutting straight across.
- Weave for about 2 inches, then reverse direction and weave back through a different set of stitch loops for another inch.
- This direction change locks the tail in place, since the yarn cannot pull straight through a path that doubles back on itself.
- Trim the remaining tail close to the fabric, leaving no more than a quarter inch showing.
- Gently stretch the fabric in that area to check the tail stays hidden and does not pop back through.
I always weave in the direction of the stitches rather than diagonally across them, since a diagonal weave is more likely to show as a faint line on the right side of thinner fabrics.
Variations by Stitch and Method
Single crochet vs. lacy or open stitches: Dense stitches like single crochet hide a woven tail easily, but open, lacy stitch patterns show less fabric to hide a tail inside, so weave through the denser post of a stitch rather than an open chain space.
Cotton vs. slippery yarns: Cotton grips a woven tail securely with a shorter weave, while slippery yarns like bamboo or silk blends need the full reverse-direction weave described above, or they can work loose over time.

Common Mistakes to Avoid
- Bulky joins: Weaving several tails through the exact same handful of stitches adds noticeable thickness in one spot.
- Visible color jump: Weaving a dark tail through light-colored stitches, or vice versa, can show as a faint shadow line on the right side.
- Jagged spiral-round transitions: Trimming a tail too short before confirming it is fully secure risks the end working loose with no way to re-weave it.
Frequently asked questions
How do you hide a yarn join in crochet?
Weave each tail through several stitches in one direction, then reverse and weave back through a different path, which locks the tail in place without a visible knot. Trim any remaining tail close to the fabric only after confirming it holds securely.
What is the best way to join yarn without a knot?
Weaving in ends thoroughly, with a reverse-direction pass, is itself a knot-free method as long as the fabric is dense enough to grip the woven tail. For very slippery yarns, a magic knot at the join point adds extra security before weaving in the shorter remaining ends.
Can you change colors in the middle of a row and still weave in ends cleanly?
Yes, a mid-row color change simply gives you two tails to weave in at that exact point instead of one. Weave each tail in a slightly different direction to avoid stacking too much bulk in one small area.
Starting a new skein instead of finishing a project?
The same weaving principle applies whether you are mid-project or wrapping up.
Learn to join a new skein cleanly