
A crochet cap with ear flaps adds two extended side panels to the standard beanie shape, each usually finished with a braided tie, giving genuine extra warmth for cold outdoor wear beyond what a standard cap provides. I made a set of these for my kids specifically for winter sledding trips. This guide gives materials and the full pattern.
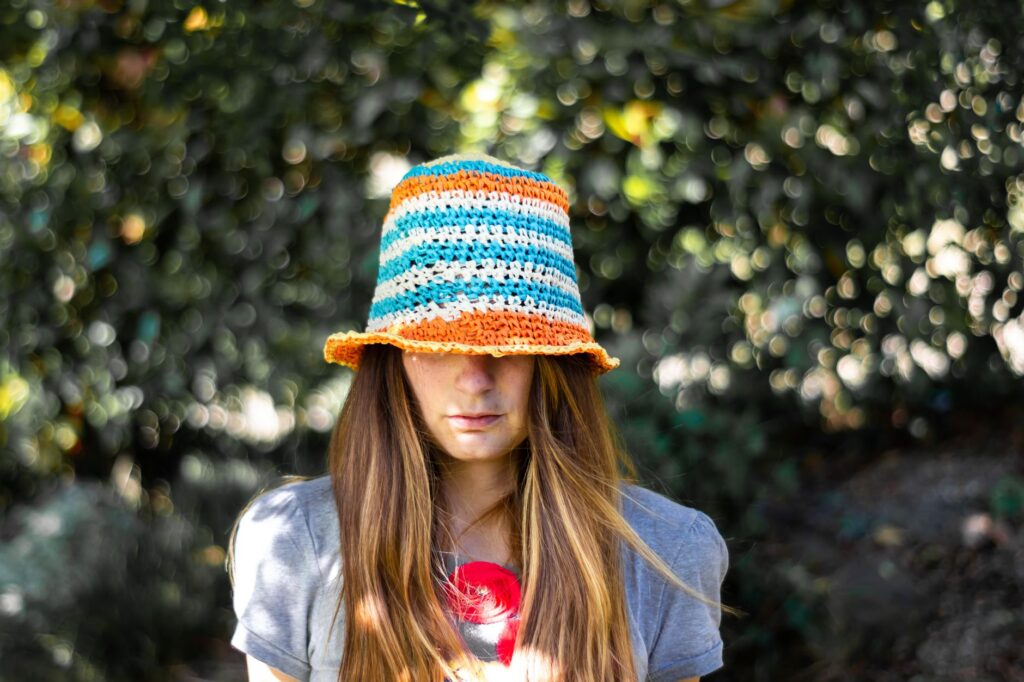
Materials Needed
- About 150 yards worsted weight yarn
- A 5.0mm hook
- Optional: small pom-poms for the tie ends
Pattern Instructions
- Work the standard beanie body following a circle increase pattern into straight rounds, per your usual cap pattern.
- Before the final finishing round, mark two symmetric points on either side of the cap, roughly where ears would sit.
- At each marked point, work a triangular flap extending downward, decreasing one stitch per row until the flap comes to a point.
- At the tip of each flap, chain 20 to 24 stitches, then slip stitch back down to form a simple tie, or braid three separate chains together for a thicker braided tie.
- Attach a small pom-pom to each tie end if desired.

Frequently asked questions
How do I make sure both ear flaps end up symmetric?
Count the exact same number of stitches from the center back seam to each flap’s starting point before beginning either one, rather than eyeballing the placement, which keeps both sides matched.
Want the basic cap pattern without flaps?
See the simpler version this pattern builds from.
See the basic cap pattern