How to make a slipknot for crocheting is the literal first motion of nearly any project, anchoring your working yarn onto the hook before your first chain stitch. This knot is a common stumbling block for beginners, so don’t worry if it takes a full session to get comfortable. This guide covers the steps.

Step-by-Step Instructions
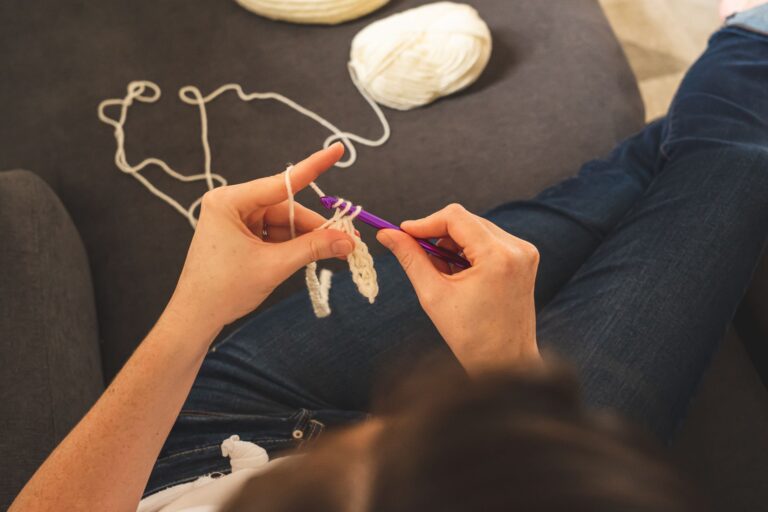
- Make a loop with the yarn, crossing the working strand over the tail.
- Reach through the loop and pull a second loop of the working yarn through.
- Place this new loop onto your hook.
- Pull both ends gently to snug the knot against the hook without pulling it too tight to slide.
Frequently asked questions
Does the slipknot count as a chain stitch?
No, the slipknot is only the starting loop and does not count toward your chain total. Start counting from the first true chain stitch made after it.
Ready to build your first chain?
The slipknot is step one, chaining comes right after.
Learn to start a chain