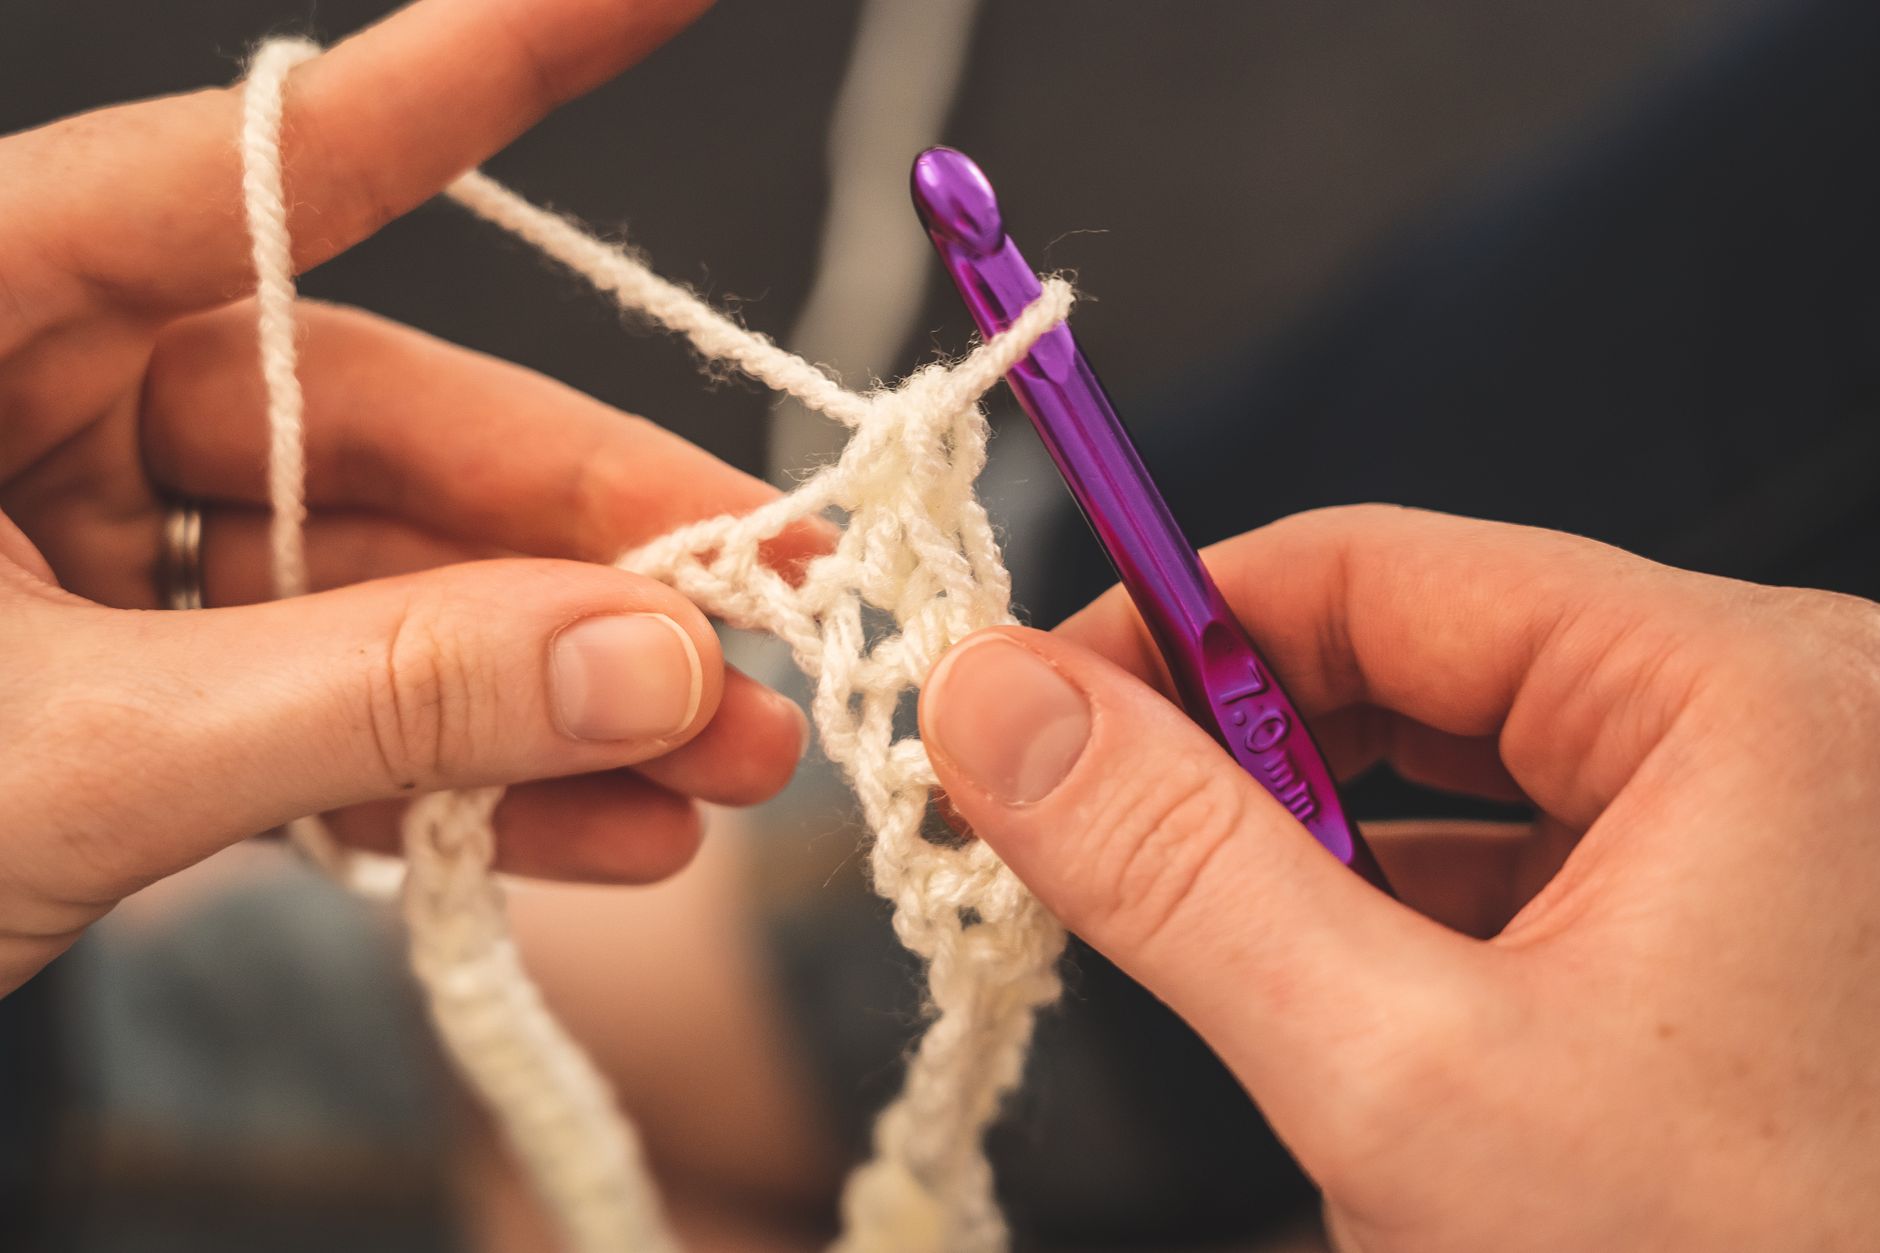
How to tie a slipknot for crochet is the very first physical motion of nearly every project, and it trips up a surprising number of total beginners simply because the finished loop needs to slide adjustably rather than lock permanently, a distinction that is not obvious from watching someone else do it quickly. I slow this exact motion down deliberately for every new student, since rushing through it on the first attempt is a common reason the resulting knot either falls apart or locks too tightly to adjust. This guide breaks the motion down into its smallest parts.

Step-by-Step, Slowly
- Leave a tail of about 6 inches, then form a loop by crossing the working yarn over the tail, like the number 6 shape.
- Reach through that loop with your fingers or your hook, from behind the crossed point.
- Grab the working yarn, the strand connected to your ball or skein, not the short tail.
- Pull that grabbed working yarn back through the loop you made in step 1, creating a second, new loop.
- Place this new loop onto your crochet hook.
- Gently pull both the tail and the working yarn to snug the knot against the hook, testing that the loop still slides freely along the hook shaft rather than locking rigid.
What “Sliding Adjustably” Actually Means
A correctly tied slipknot lets you gently pull the working yarn to tighten or loosen the loop around your hook shaft at will, which matters because your very first chain stitch depends on this adjustability to set the right initial tension. If your knot locks in place and will not slide at all, you have likely pulled the wrong strand through in step 4, creating a fixed loop rather than a slip loop.
If Your First Few Attempts Fall Apart
A slipknot that falls apart completely, rather than locking too tight, usually means the loop from step 1 was not actually crossed correctly before you pulled the working yarn through it. Practice the crossing motion slowly on its own a few times, without worrying about pulling anything through yet, until the crossed loop shape feels familiar and repeatable.

Practicing Away from Yarn First
I sometimes have beginners practice the crossing and pull-through motion using a piece of string or ribbon before switching to actual yarn, since thicker, more visible material makes it easier to see exactly which strand is which during each step. Once the motion feels comfortable with an easier-to-see material, switching to your actual project yarn usually goes smoothly.
Frequently asked questions
Does the slipknot count as my first chain stitch?
No, the slipknot is only the starting loop and does not count toward your chain total. Start counting from the first true chain stitch you make after it.
Why does my slipknot keep locking too tight to slide?
This usually means the wrong strand was pulled through the loop, creating a fixed knot rather than a slip loop. Retry the motion, making sure you pull the working yarn connected to your ball, not the short tail, through the crossed loop.
Ready to build your first chain?
See the exact steps for chaining once your slipknot is in place.
Learn to start a chain