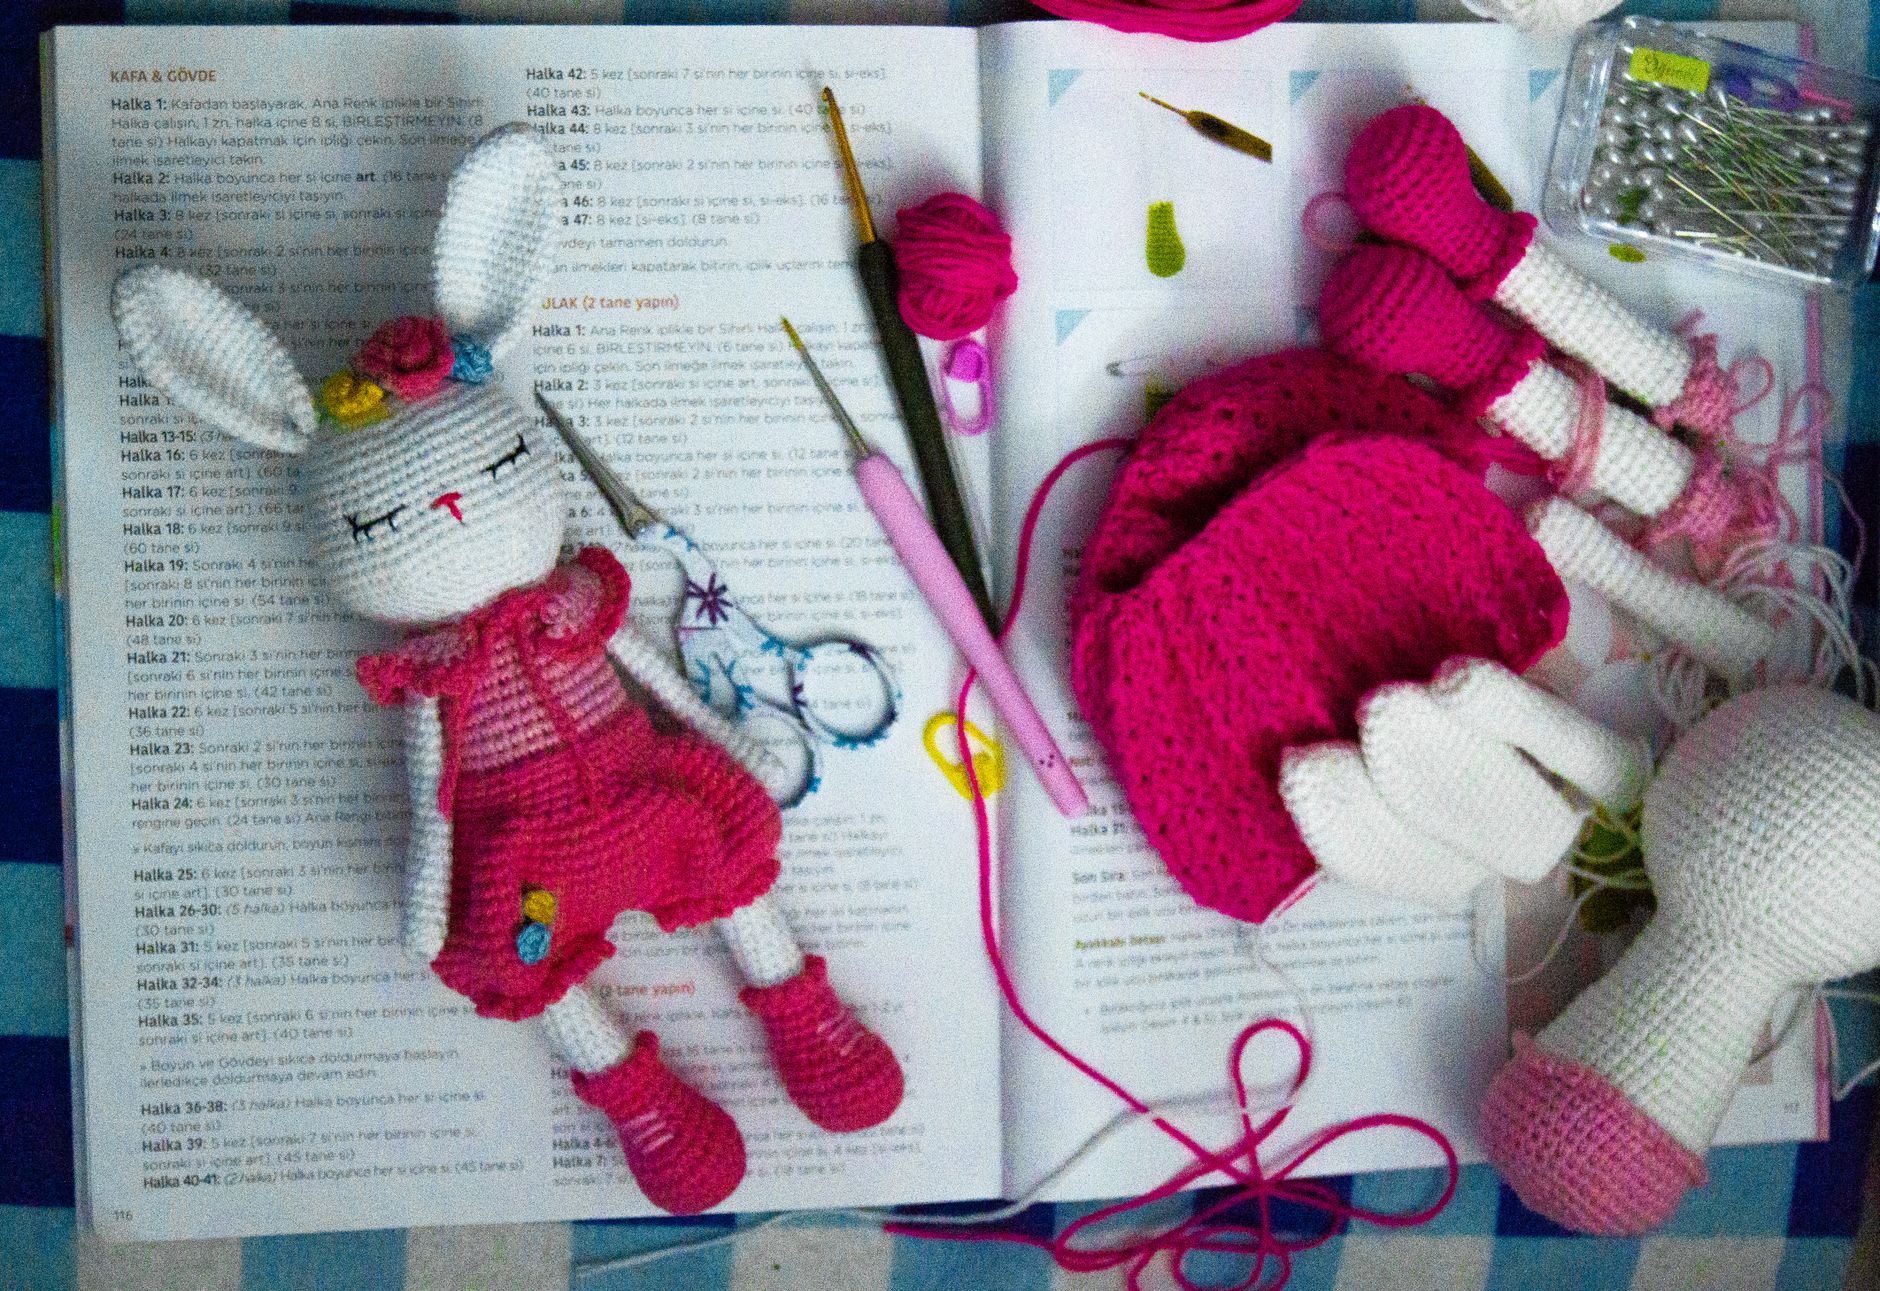
Making a circle in crocheting is really two skills stacked together: starting a magic ring, then working the next several rounds so the piece stays flat instead of cupping or rippling. Most tutorials only cover the ring itself and stop. I want to walk through what happens after that first round too, since that is where most beginners actually lose the shape.

Starting the Ring
Wrap your yarn around two fingers to form a loop, then pull a fresh strand through that loop with your hook to begin your first stitch. Work your Round 1 stitches directly into the loop, not into a chain, which is what separates a magic ring from an older chain-and-join starting method.
Once Round 1 is complete, pull the yarn tail firmly to close the center hole. A magic ring should close down to nearly nothing, unlike a chain start, which always leaves a small visible gap in the middle.
Working the Round After the Ring
Round 2 is where a circle either stays flat or starts to misbehave, because this is where you begin increasing. The standard rule is doubling your stitch count in Round 2, so if you worked 6 stitches into the ring, Round 2 works 2 stitches into every one of those 6, ending at 12.
From Round 3 onward, the increase rate slows: instead of doubling, you space single increases evenly around the round, adding roughly 6 stitches per round no matter how large the circle gets. I keep a stitch marker in the first stitch of every round so I never lose track of where the increase pattern starts over.
This is also where joined rounds and continuous spiral rounds diverge. A joined round closes each round with a slip stitch before starting the next, leaving a visible seam line running up the piece. A continuous spiral skips that join entirely and just keeps spiraling outward, which hides the seam but makes it harder to tell where one round ends and the next begins without a stitch marker.
Materials for Practice
A worsted weight yarn in a light color and a 5mm hook is the easiest combination to learn this on, since you can actually see your stitches clearly while you count. I still reach for this exact combination whenever I am teaching the technique to someone new.
- Yarn: worsted weight (#4), light or bright color for visibility
- Hook: 5mm (H-8), sized to worsted weight yarn
- Stitch markers: at least one, to track the start of each round

Troubleshooting a Circle That Will Not Lie Flat
A circle that ruffles at the edge has too many increases for its round count, usually from adding a stitch somewhere by accident rather than following the spaced increase pattern. Count your stitches at the end of each round and compare against the expected total for that round number.
A circle that cups upward like a bowl is the opposite problem, too few increases, which happens most often when a beginner forgets to increase at all past Round 2. If your circle is cupping, add one full extra increase round and check if it flattens back out.
Frequently asked questions
What is the difference between a magic ring and a chain start?
A magic ring closes almost completely shut once you pull the tail, leaving no visible center hole. A chain start, made by chaining a few stitches and joining them into a loop with a slip stitch, always leaves a small permanent gap in the middle no matter how tight you pull it. Most amigurumi and hat patterns specify a magic ring for this exact reason.
Can you use a magic ring for double crochet?
Yes, the magic ring itself works the same regardless of which stitch you use for Round 1. Double crochet is taller than single crochet though, so a circle started in double crochet reaches the same diameter in fewer rounds, and the increase spacing needs to be slightly wider to keep the taller stitches from ruffling.
Why is my magic circle not closing properly?
The most common cause is not pulling the tail firmly enough after completing Round 1. Give the short tail a solid, deliberate tug, not a light one, and the loop should cinch down tight. If it still will not close, check that your Round 1 stitches were worked into the ring itself and not accidentally into the tail strand.
Wrap Up
A flat circle comes down to two things: a properly closed magic ring, and a consistent increase pace after it. Once that rhythm feels automatic, it carries over directly into crocheting in a circle at any size, and it is the same foundation you will use starting most amigurumi and hat patterns.